So I made a video showing me making a quartz website. It covers things that I forgot to actually write about here, like using obsidian to edit notes. Will do that later.
Anyways, watch the video here
I was a edward(as josh says, a dummie) for quite a while. I struggled to set up Quartz. I no longer struggle to set up Quartz. But I found that a lot of people struggled with Quartz. This annoys me, cause they ask me to hold their hand and set up stuff. >:(
Hence, this will strive to be a comprehensive guide to setting up a Quartz 3.3 website. This may or may not be updated for Quartz 4. Blessed Jzhao 🙏
This guide will assume you have no clue how to use Github, how actions work, how to modify bloody config files, and so on. HOWEVER, I will assume you are using either windows or mac. If you are a Linux user, I have the utmost confidence you don't need this guide.
First, I would give you a choice, but for my own damn sanity I will be heavily suggesting you use obsidian to edit, write and delete notes(which are converted to pages) on your website. Don't edit in Github.
So, here's what you need:
Go here and download the appropriate installation for your operating system (if you are a windows user, download the windows version, if you are a linux user go away christian).
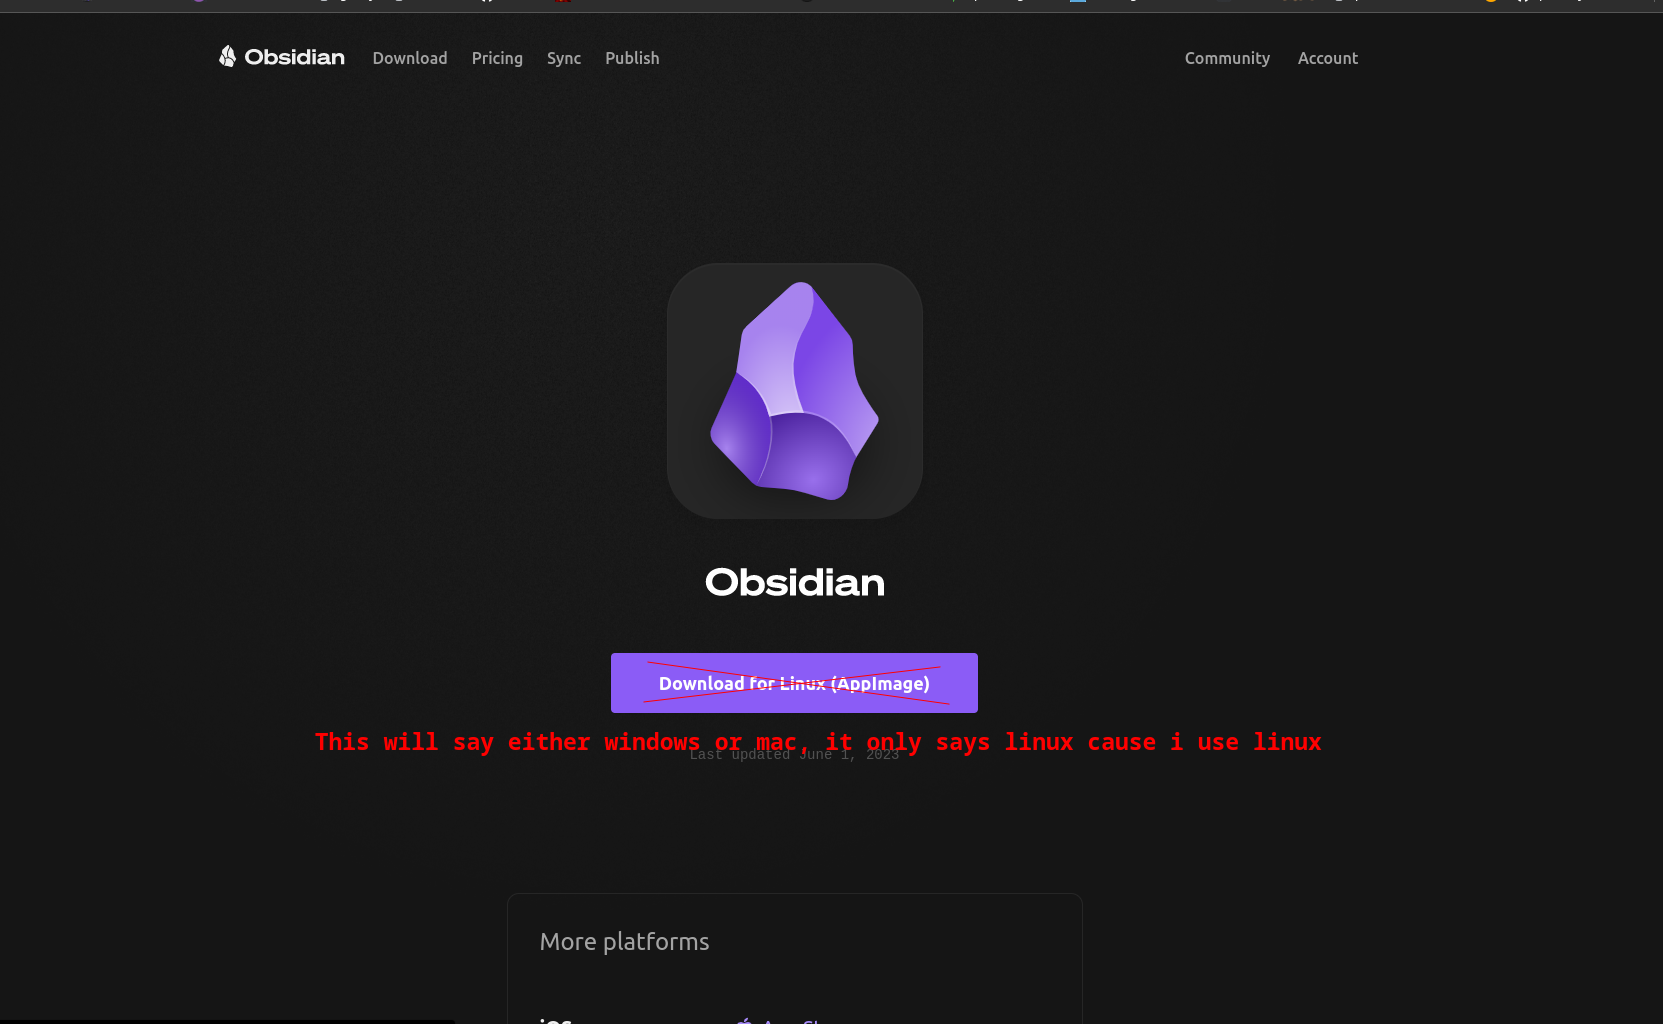
Once it has downloaded, if anything opens, close it for now. We will come back to it after we are done with downloading all these prerequisites.
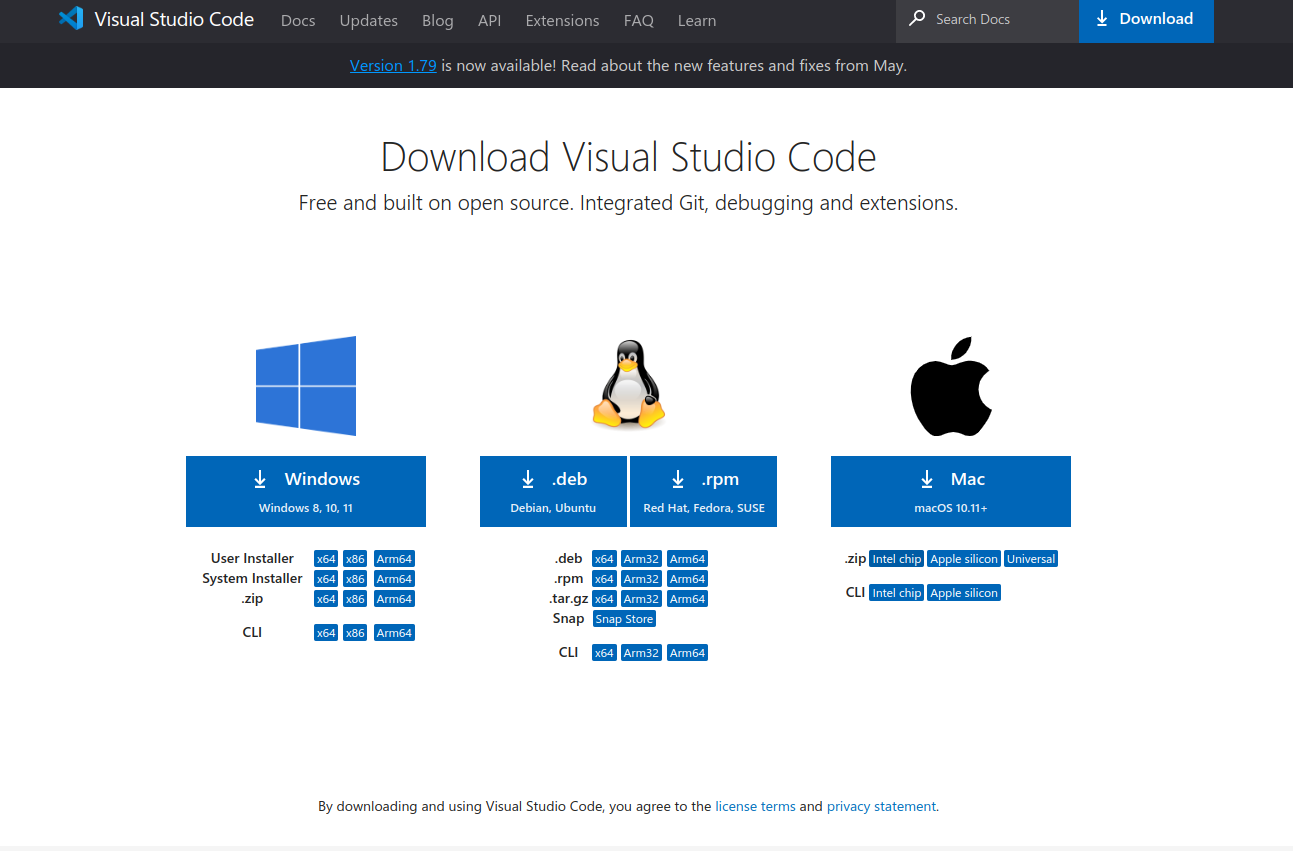
Go here and download the appropriate installation for your operating system. Same as before, don't open it yet.
This is potentially the most hardest prerequisite to set up.
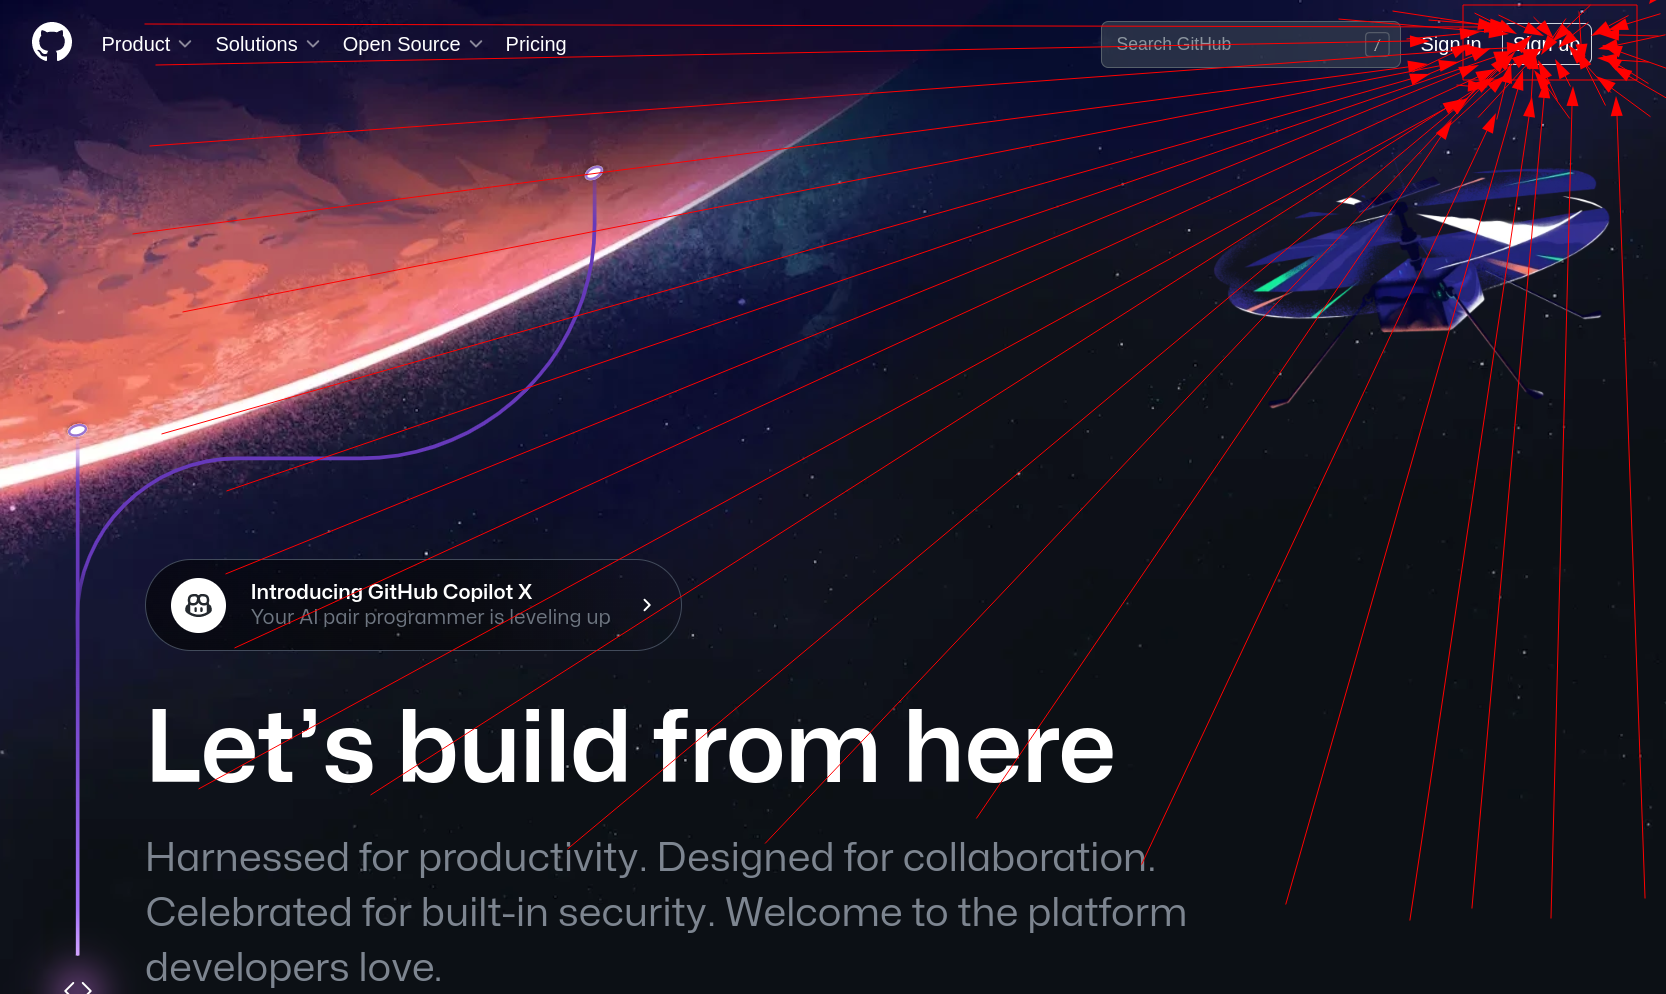
You must first go to this link and press the sign up button. I am assuming you have no clue how Github works. If you do have a Github account, we are good.
Fill in the details.
{{INSERT IMAGES OF DETAILS}}
Congratulations! You now have a Github account. Leave this page open (you should be at https://github.com). We will come back to it shortly.
This application is crucial to updating your website. If you're cool (like me), you can use Obsidian Git instead.
First, go to this website and download for your operating system (windows or mac).
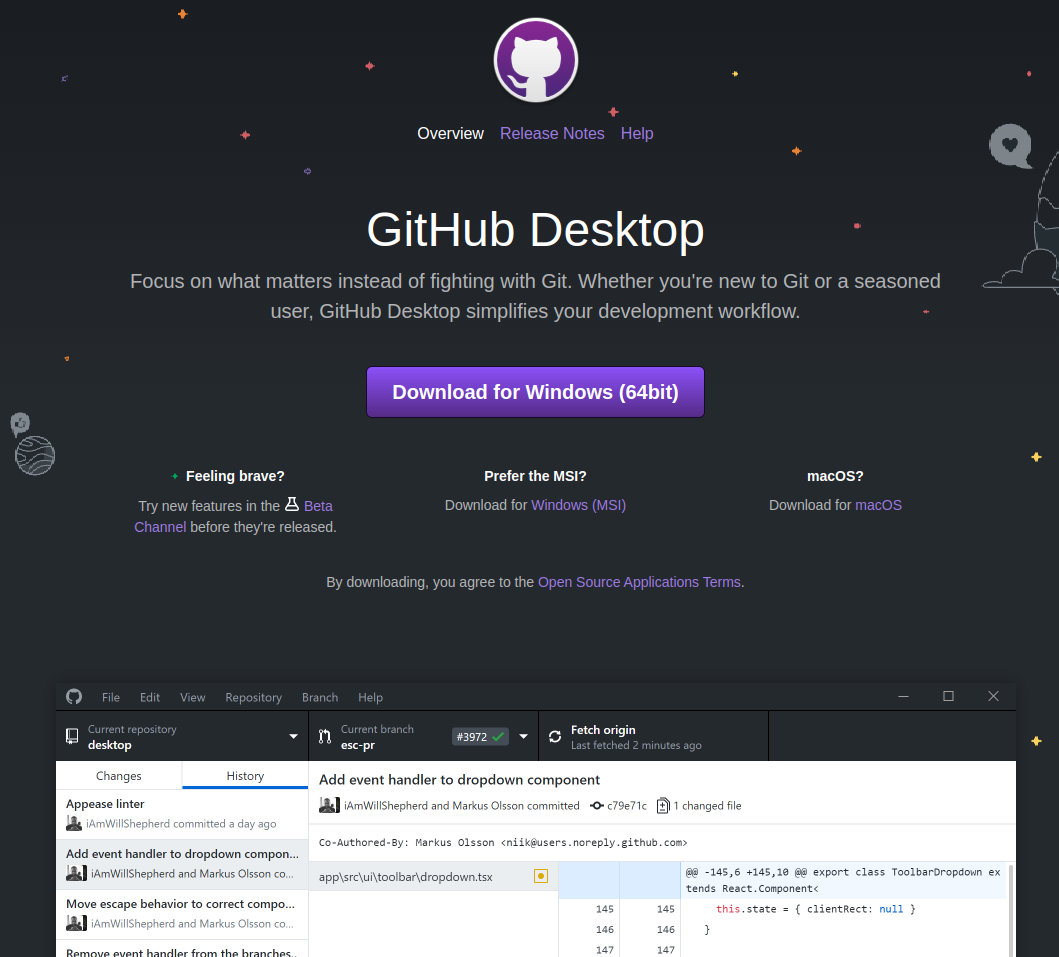
Sign in using the credentials of the github account you just made (or the own you owned prior).
Congratulations! We have now set up all the prerequisites to making the website.
Alright. So at this point you should:
It is time to make a Quartz website!
Go to Jzhao's Quartz repo while you are signed into your account.
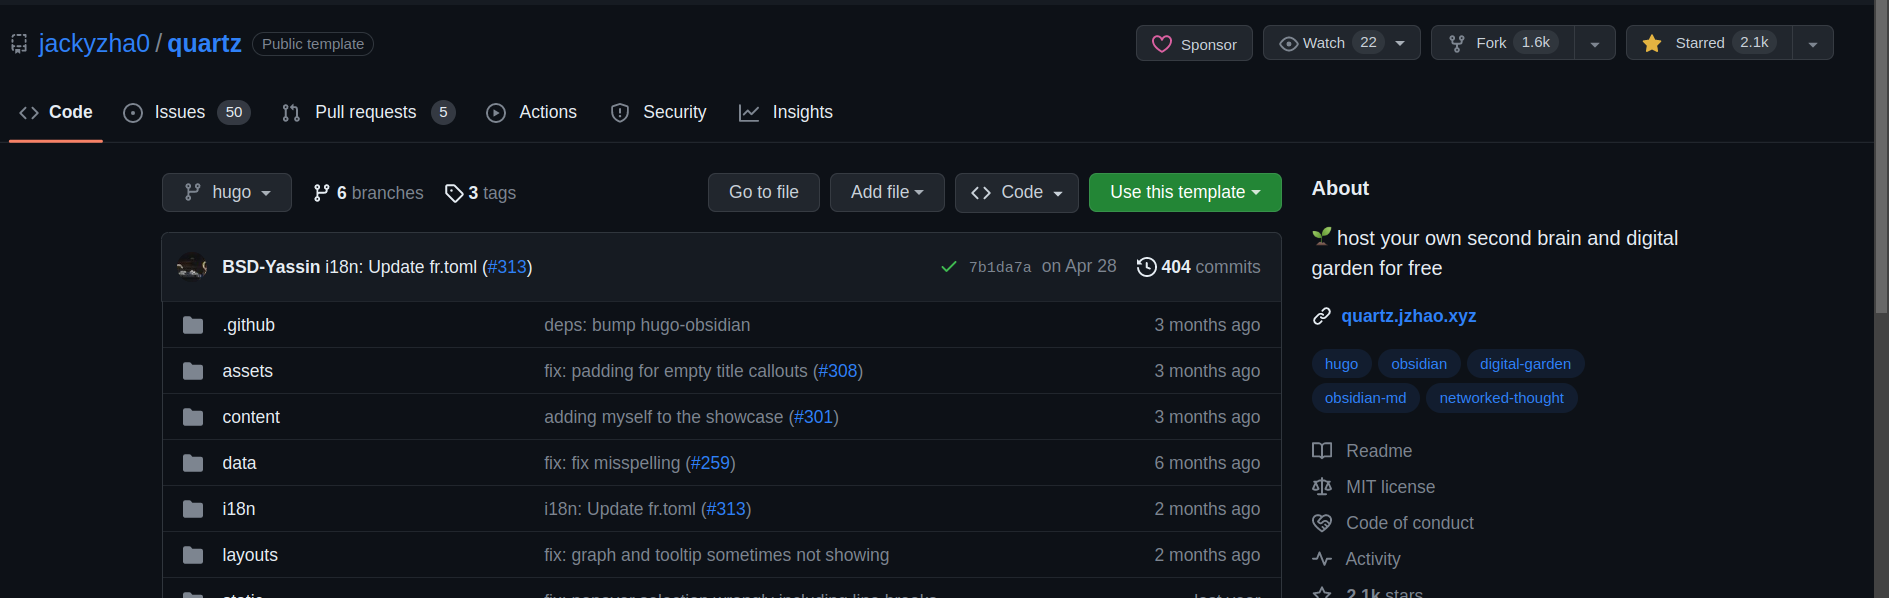
Click the green "Use this template" button and then select "Create a new repository".


Fill out all the details. Most of them should be done for you.
Select the include all branches option.
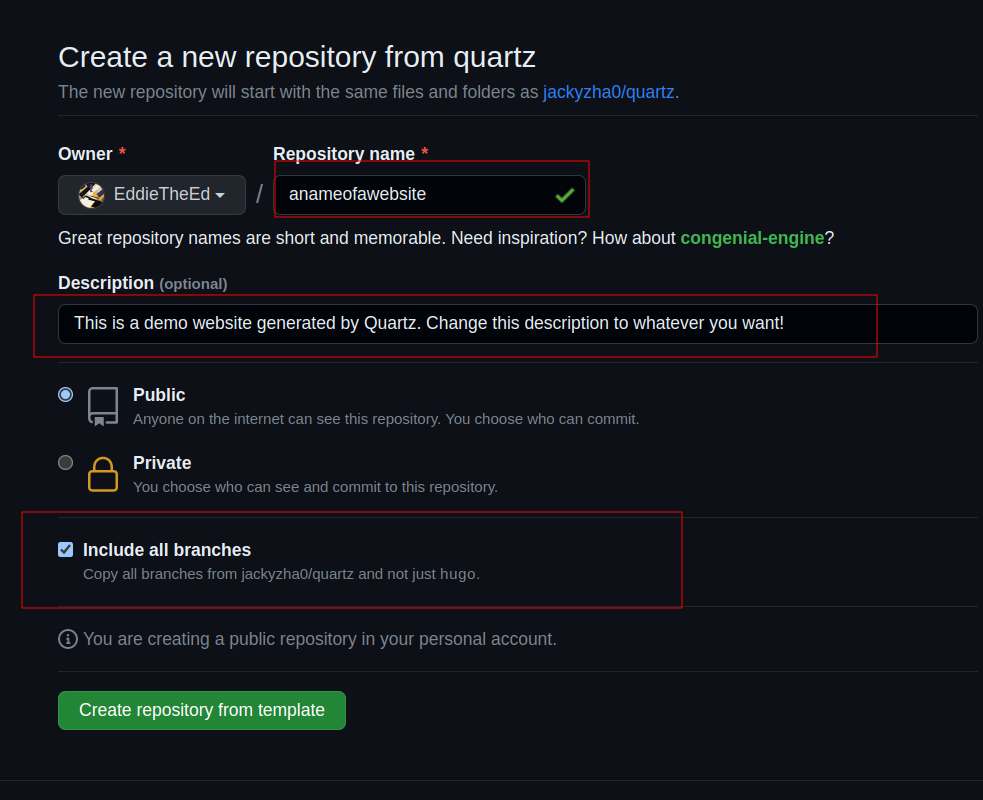
Click the "Create repository from template" button.
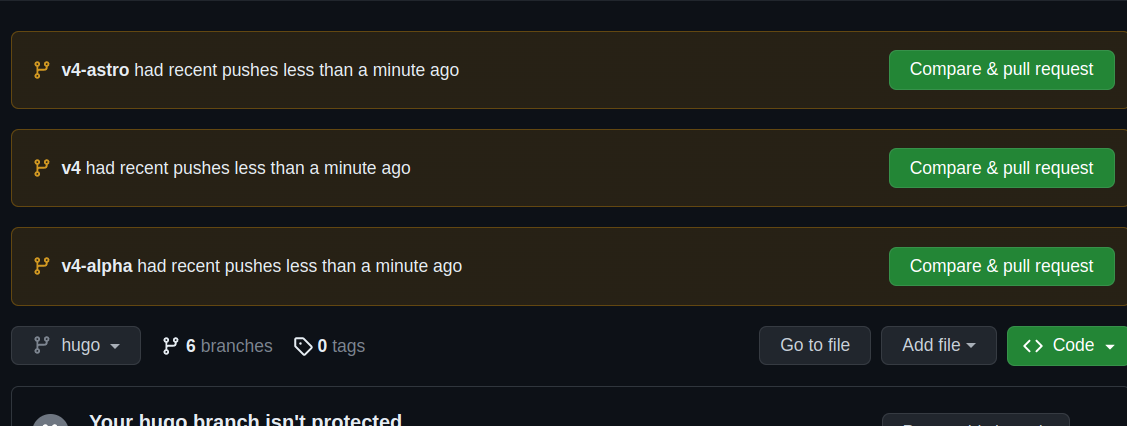
Warning! If you get popups like these, ignore it. The great Jzhao is working on Quartz 4 🙏
Alright! You have now hopefully created what is essentially a "fork" of the main Quartz repository. You don't need to understand what these terms mean.
We now need to make changes to the repository so it all works well.
Now, I want to make clear that there is a distinction between configuring the website and configuring the repository. When I refer to configuring the website, I mean changing the files within the repository, which allows the code inside to interpret this new configuration. i.e. (spoiler alert) when I say to change the baseURL in /config.toml, this is a change of the code that will affect how the code of the repository works. When I refer to configuring the repository, I mean to change the settings of the Github repository which is all online. i.e. you do not need to go into the code, all you need to do is flick a few settings on and off.
Ok, now that the ramble is out of the way, let's change some repository settings.
First and foremost, we want to go to the actions tab.

You may see a bunch of red things. Don't worry.
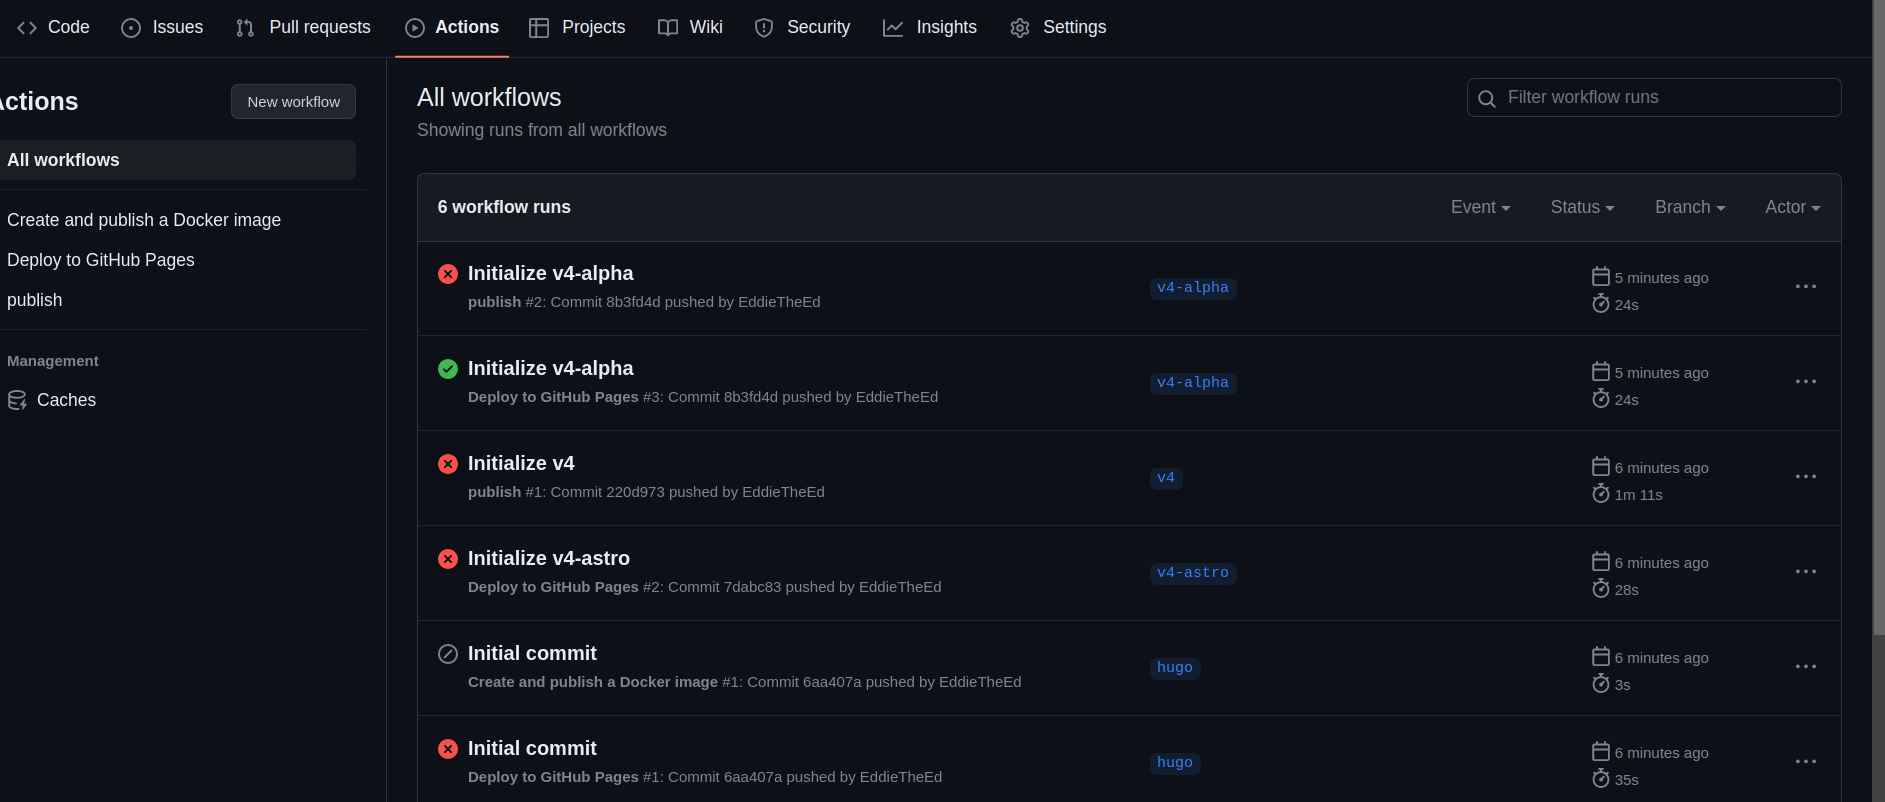 example red things
This means it is working! You may have to turn on workflows. If so, turn them on.
Next, we want to change the settings for how actions work. This is only for this specific repository.
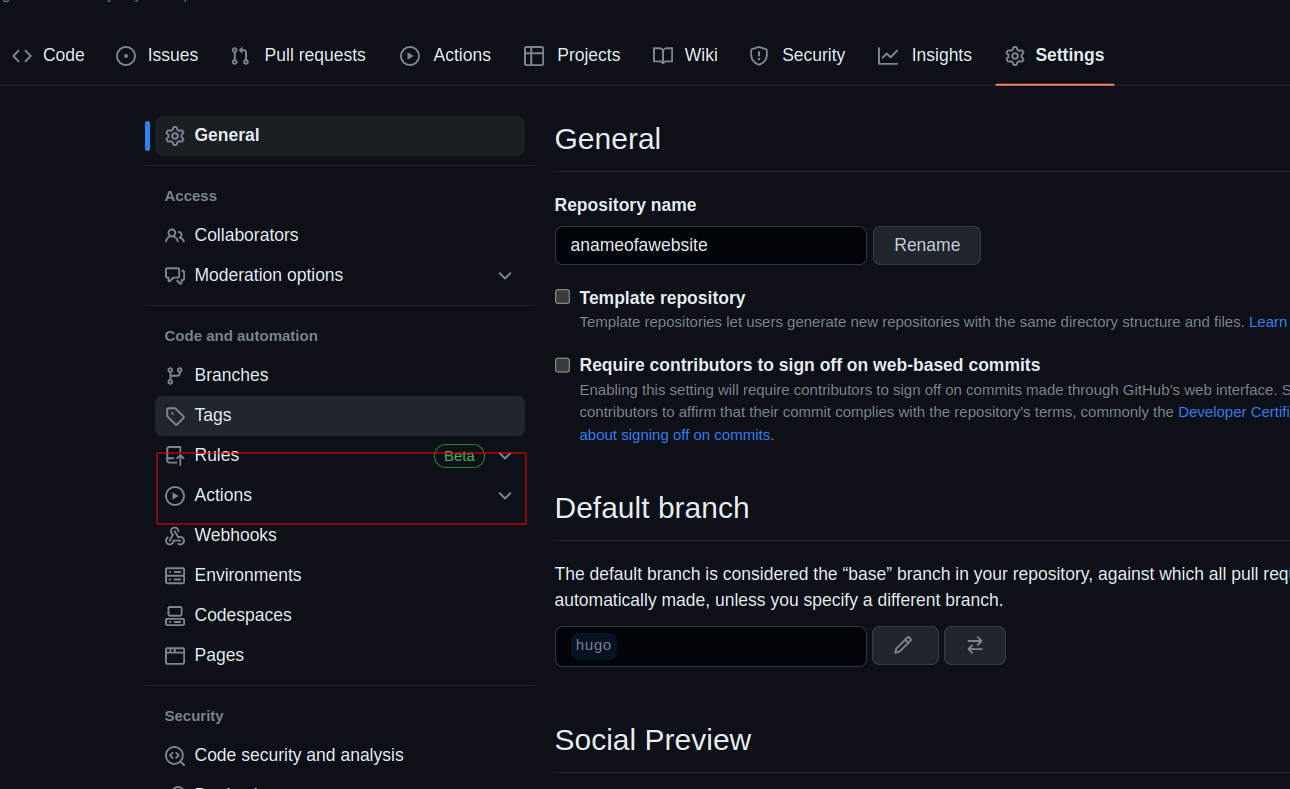
Go to the repository's settings tab.

We want to open the Actions section for the settings.
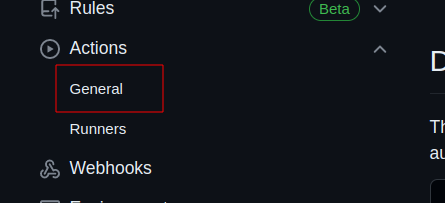
Next, click the "General" part of the dropdown.
Scroll down to the bottom and check the "Read and write permissions" for the Workflow permissions section.
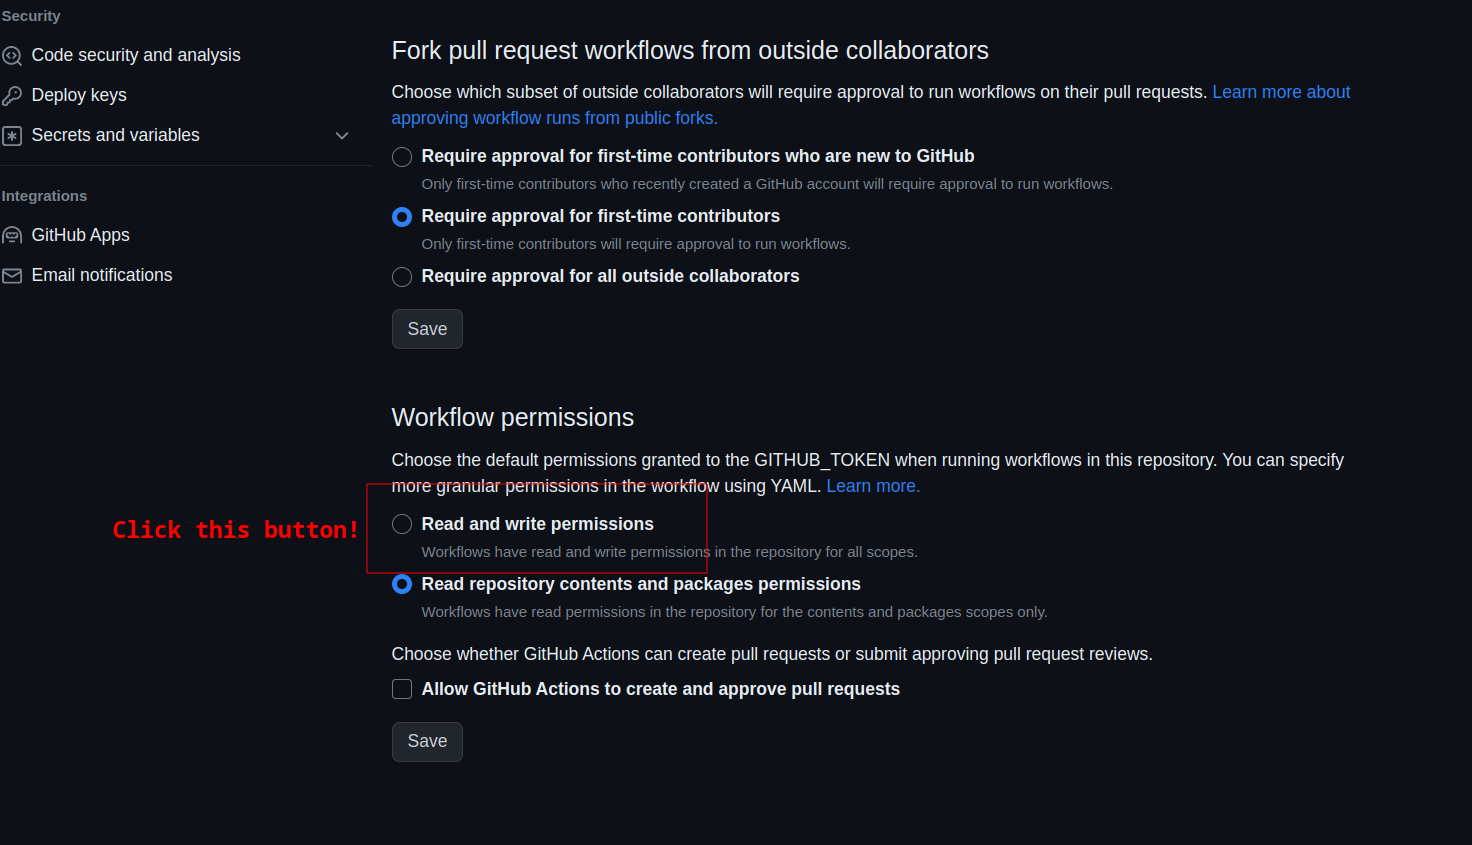
SAVE BY CLICKING THE SAVE BUTTON.
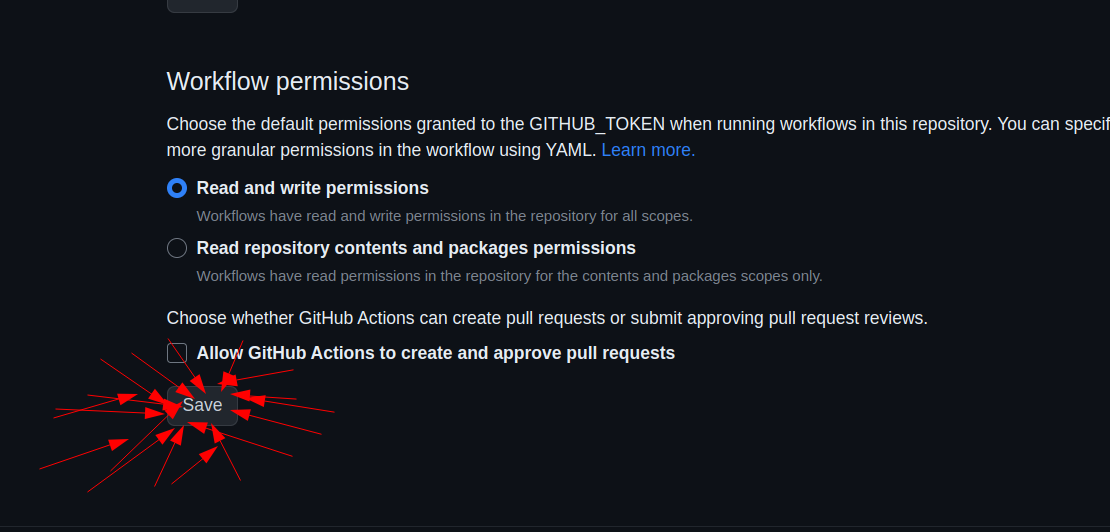
You should see a message at the top like this, or something similar. If not, try to change the workflow permissions to "Read and write" and save again!

Alright! We are almost done with the configurations for the repository. We just need to do one more thing.
I am going to assume you will be using pages to host the website. If you know your stuff and want to use something else, you shouldn't be using this guide...
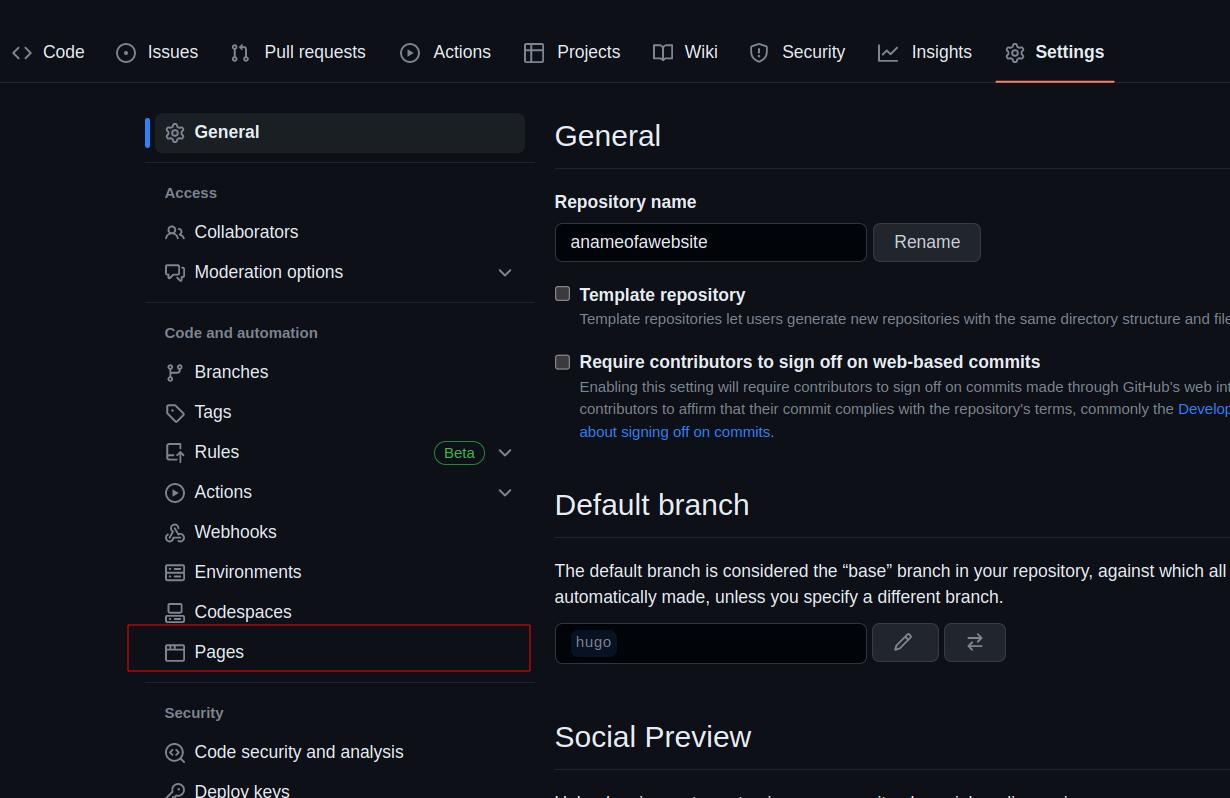
Go back to settings.
Go to the Pages section of the settings.
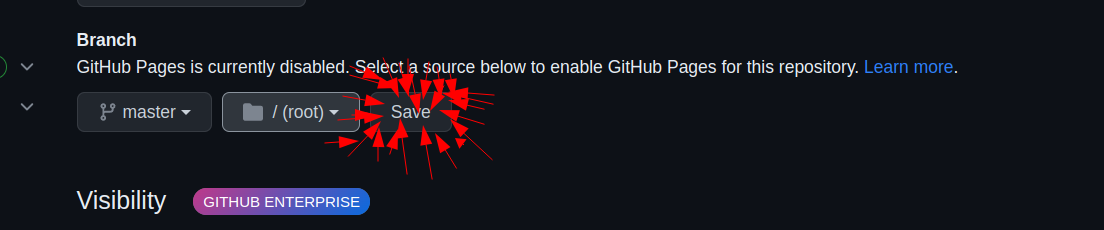
Under the "Build and deployment" section, make sure it says "Deploy from a branch." For the Branch, we want to use the master branch.
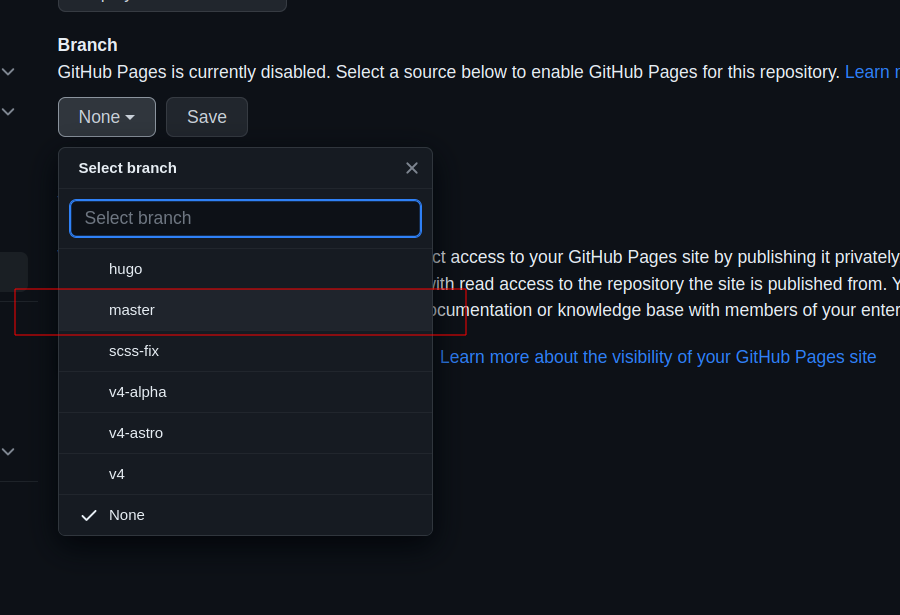
REMEMBER TO SAVE!!!
Alright! We now have fully configured the website's repository online. We now need to make changes and also set up a way to use it locally.
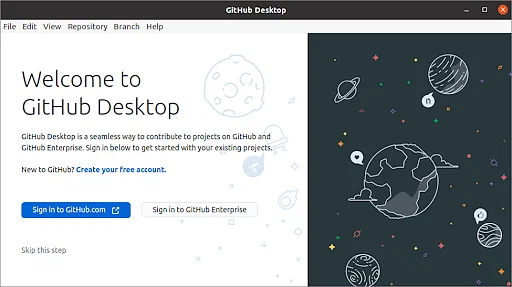
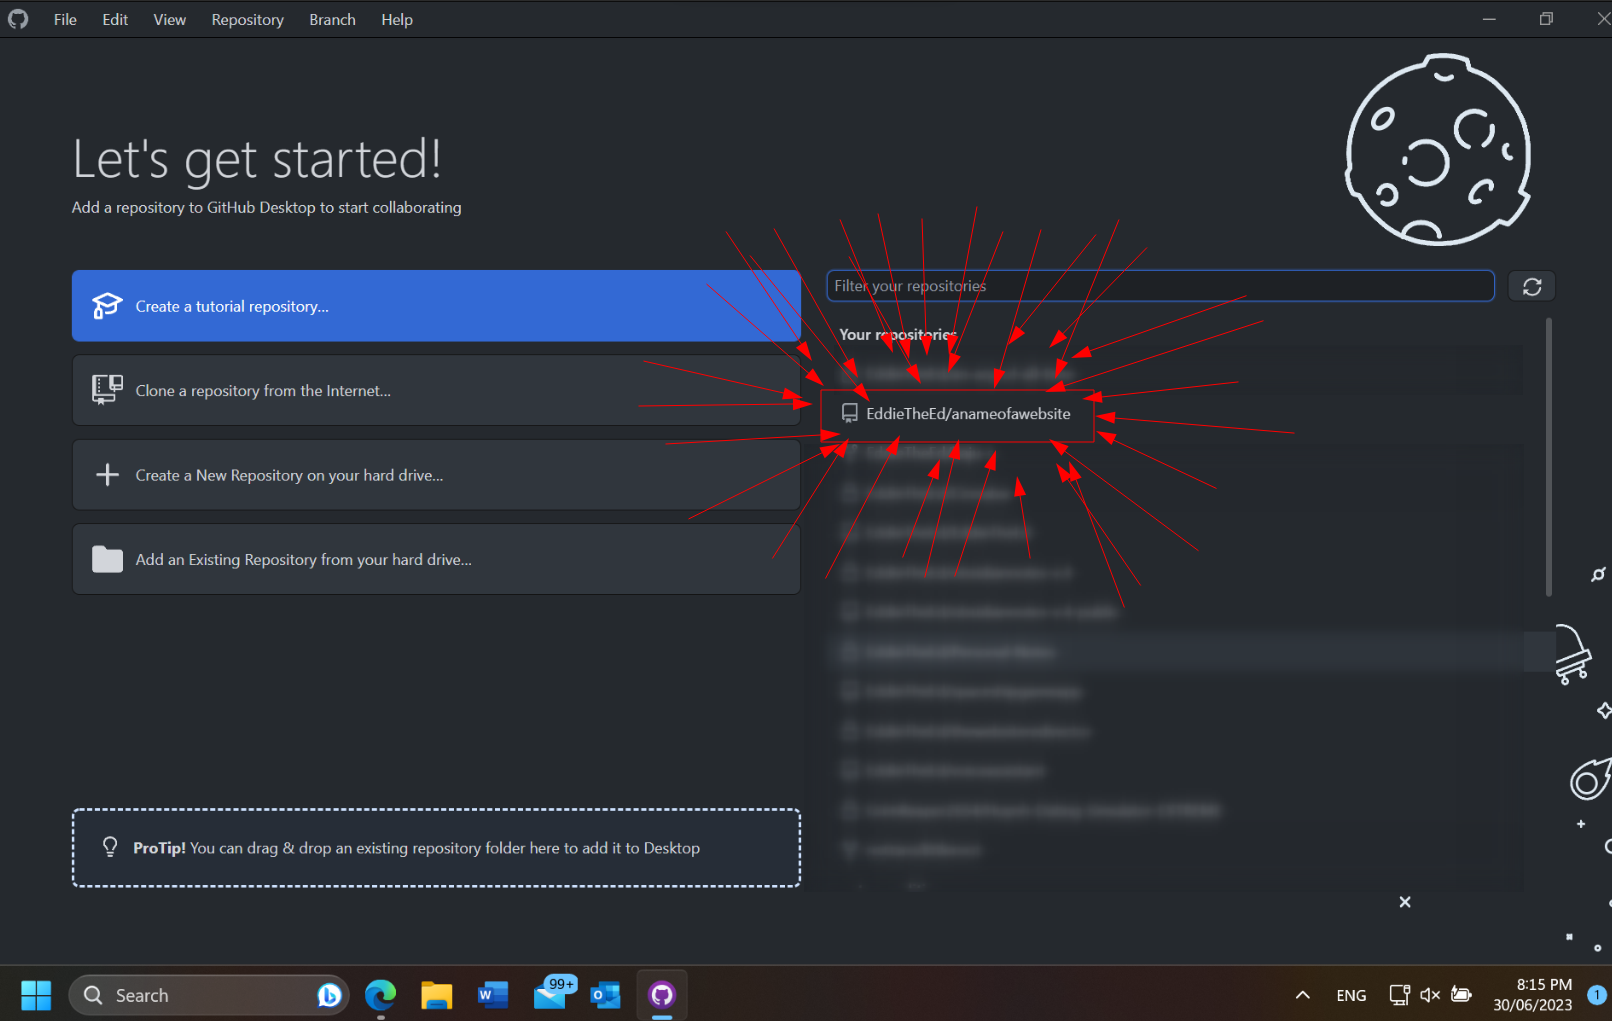
Let's reopen Github Desktop(if you closed it, if not, just click back to it).
It should look something like this:

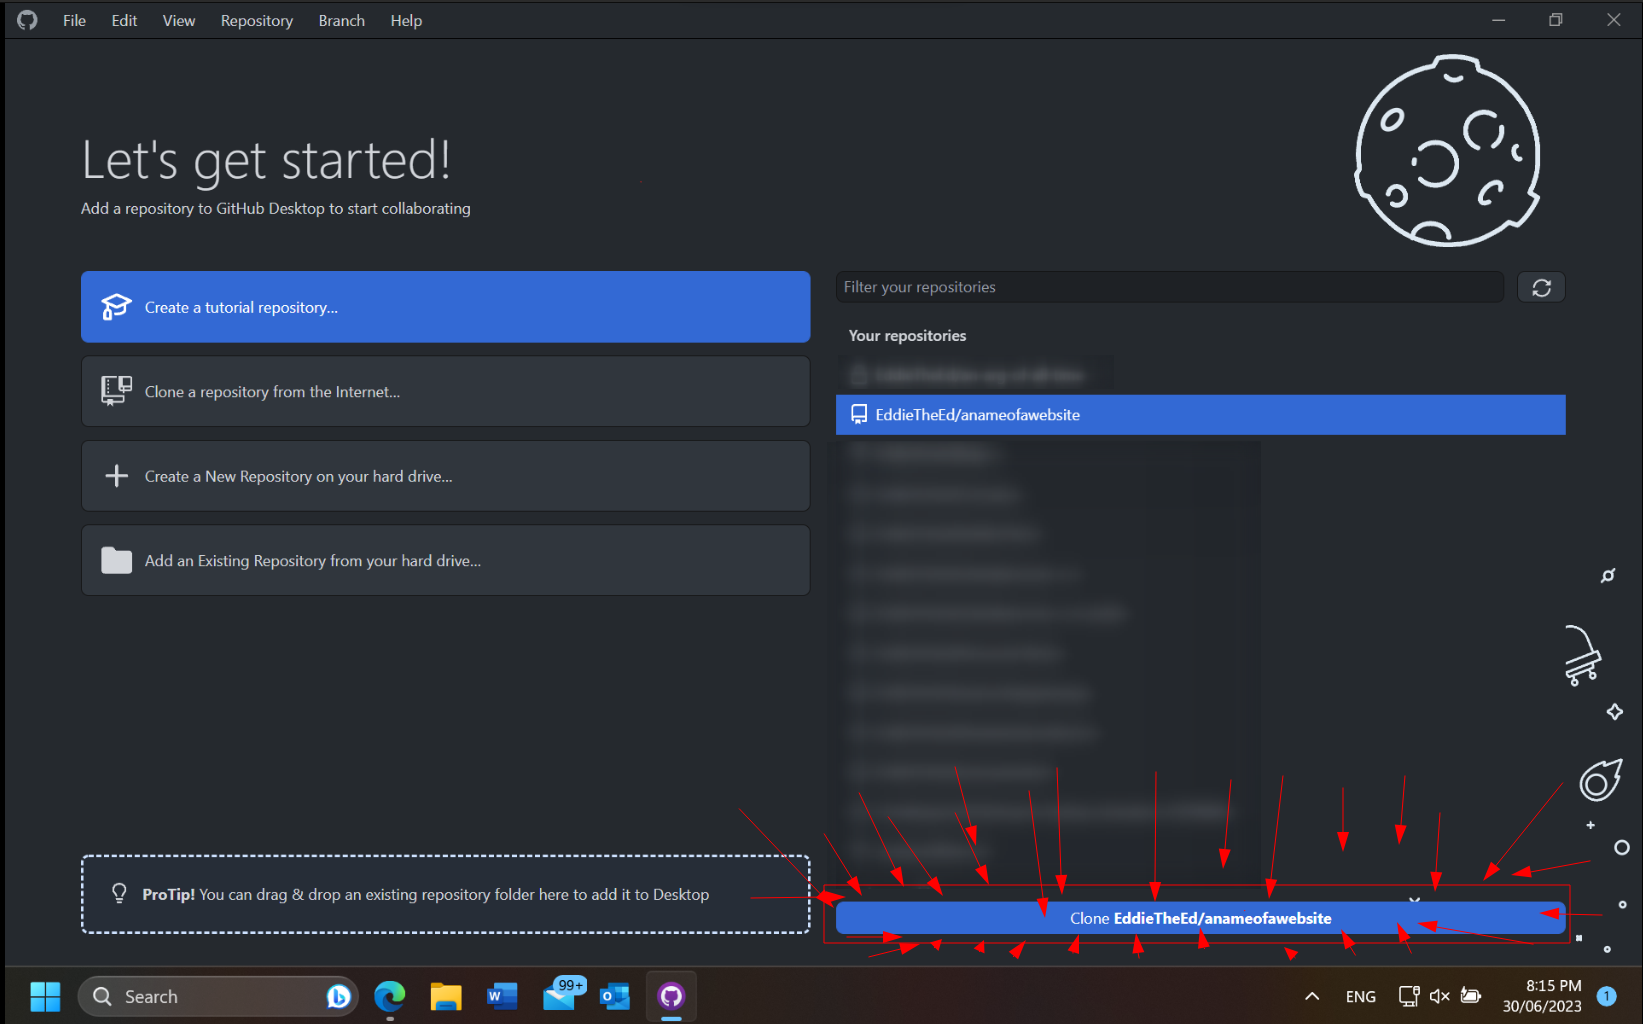
Now let's click the repository we made.
Now actually click the clone button.
A popup will appear. Check the details are correct.
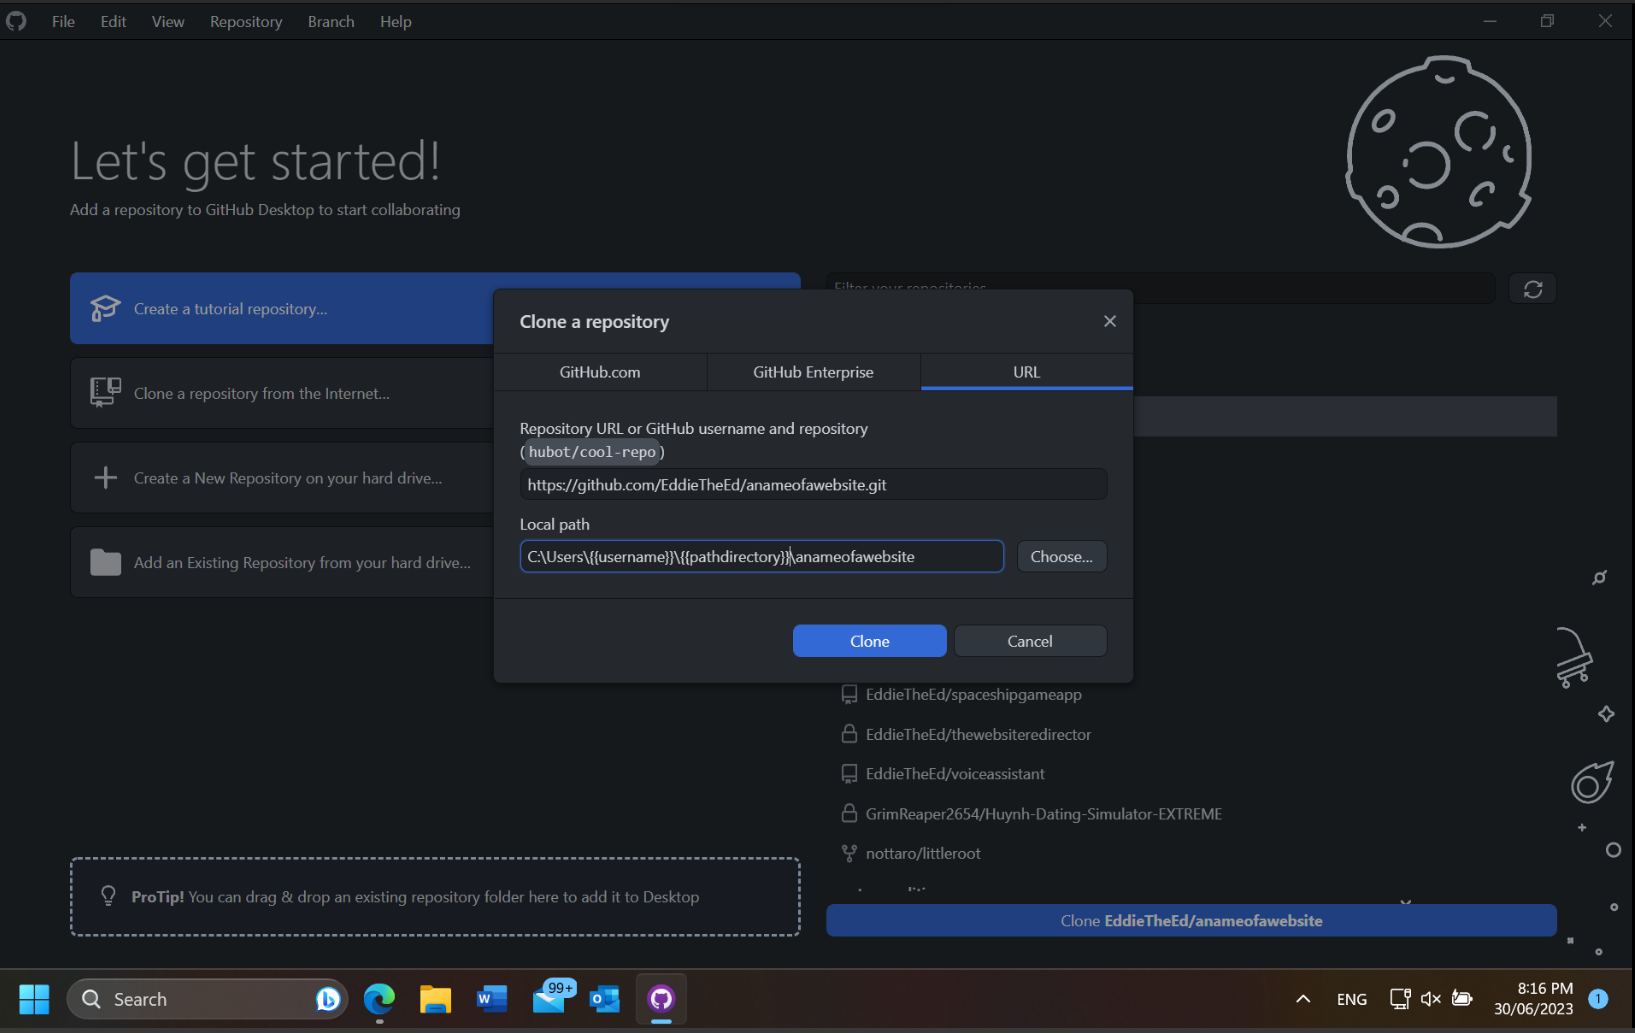
Note that:
Also, make sure the repo url is the same url as the repo you created! It should have your username in it!
We now have successfully cloned a repository. Now, let's find where it is locally.
Right click the top left button.
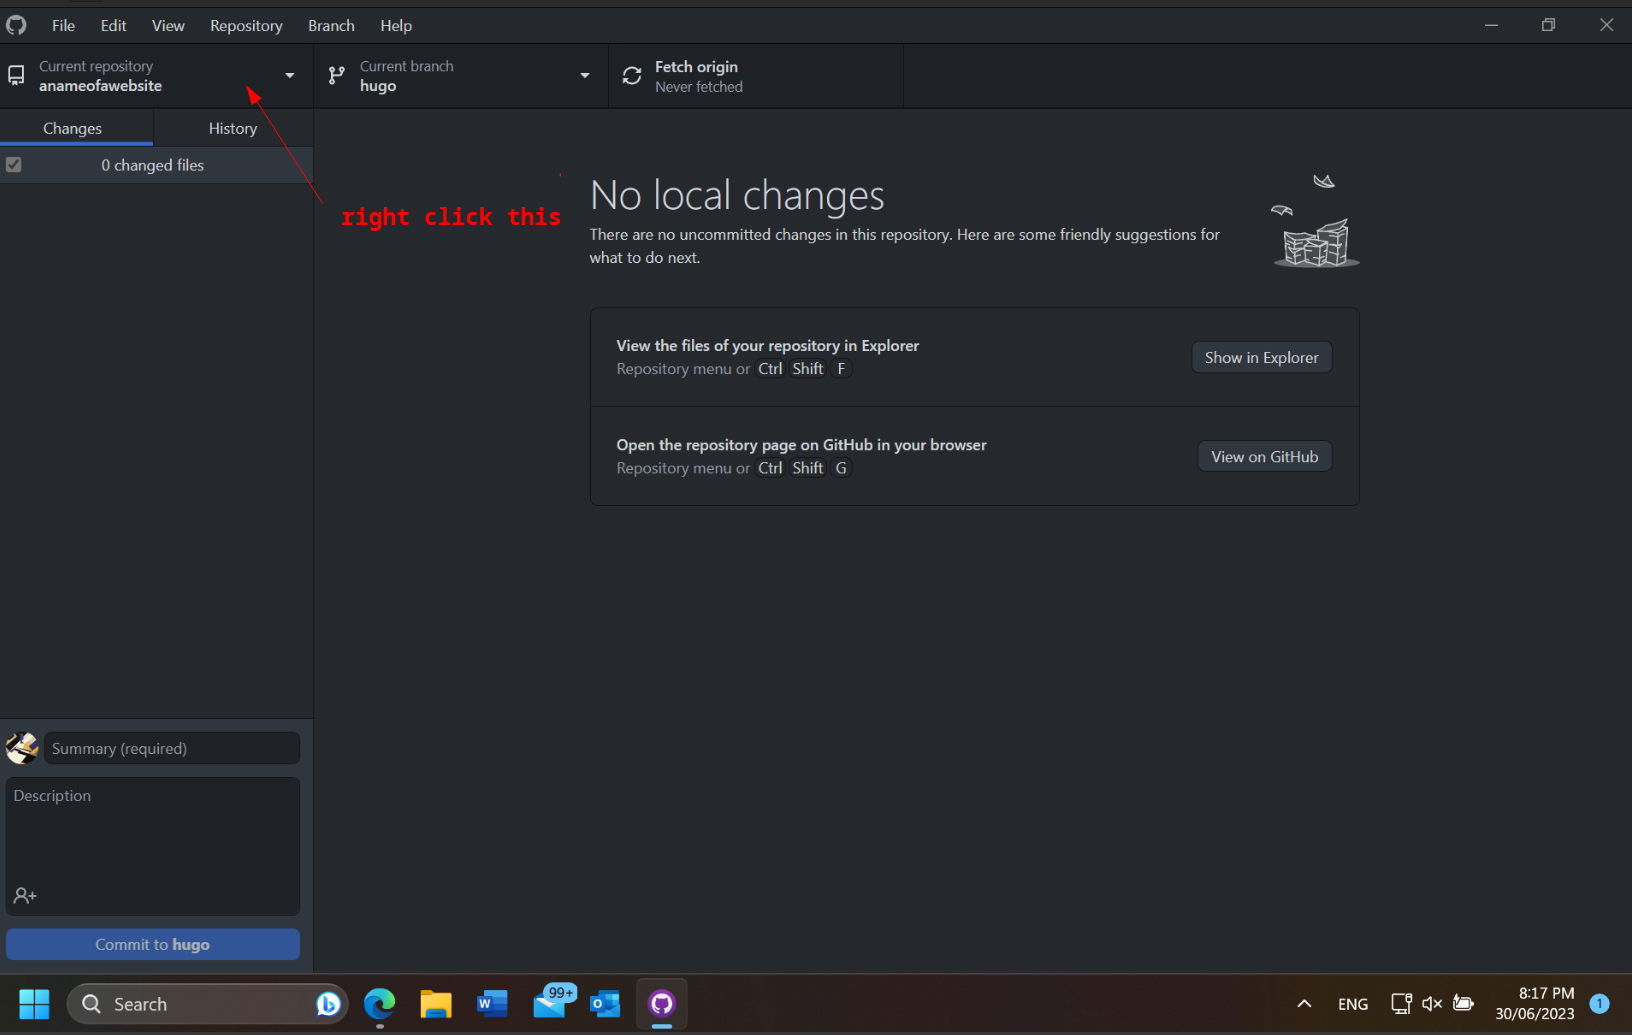
It should create a popup like this:
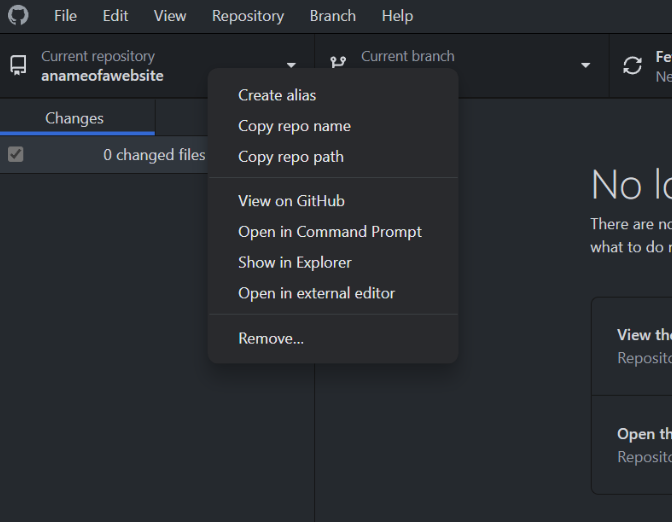
Now, we are going to show in explorer. This should give the directory path of the repository.
It's time to make configuration changes.
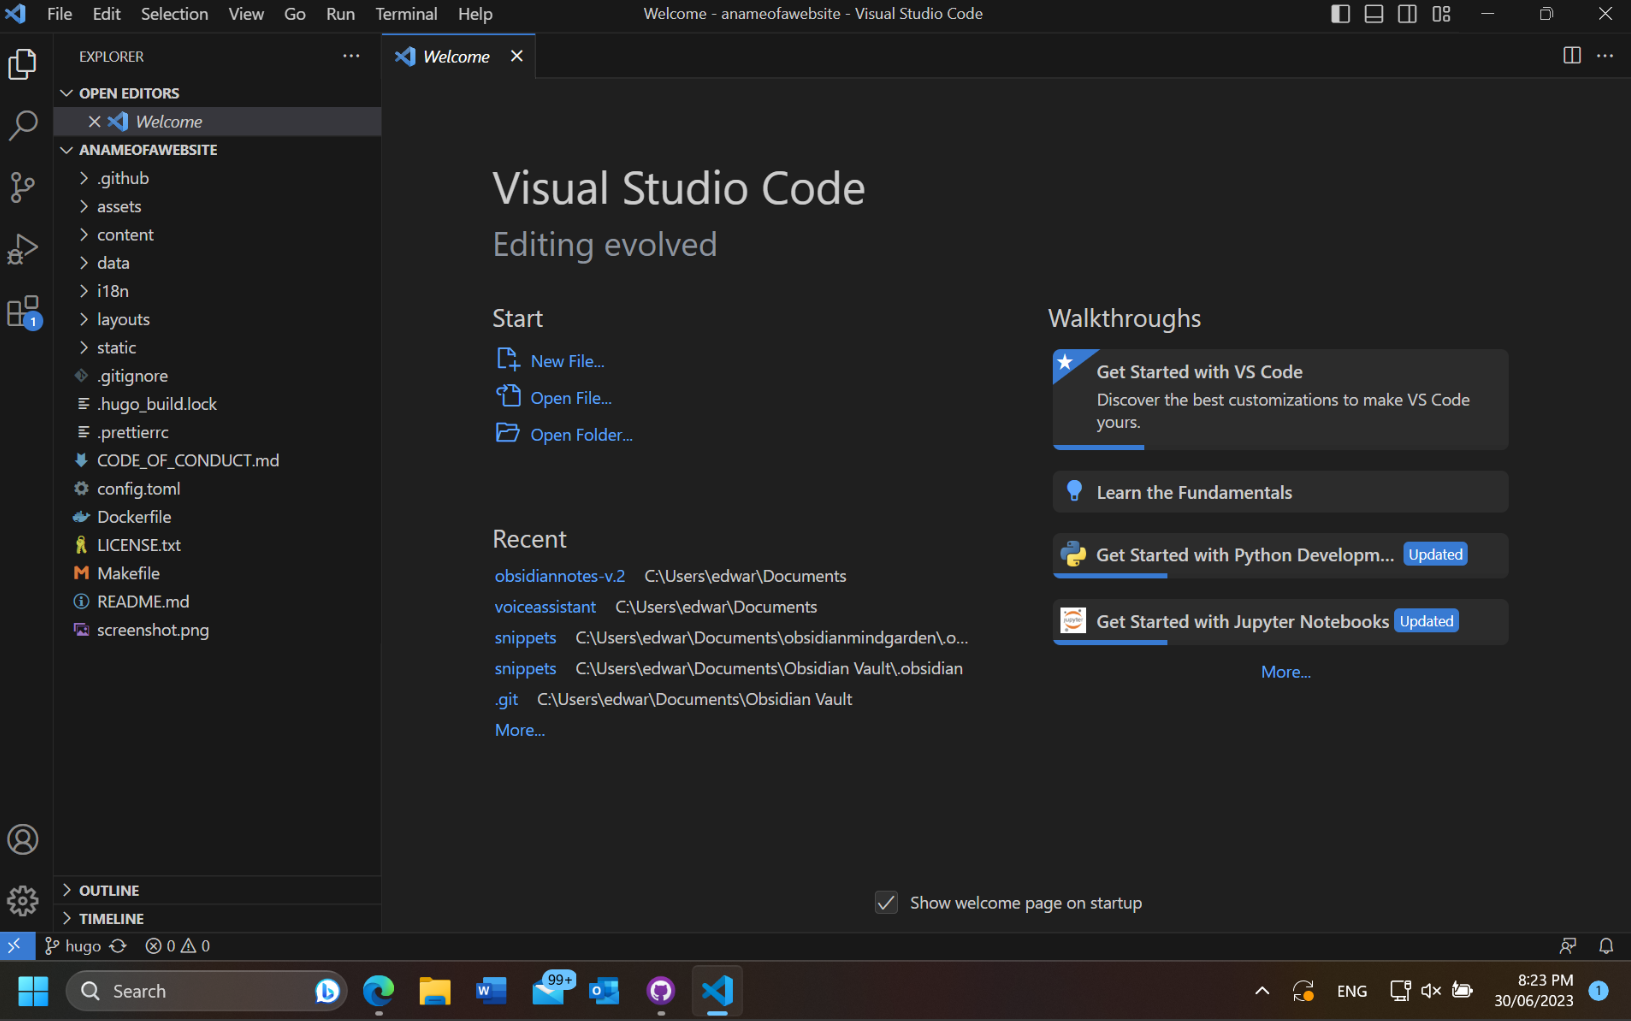
Now, let's reopen (or click back to) Visual Studio Code.
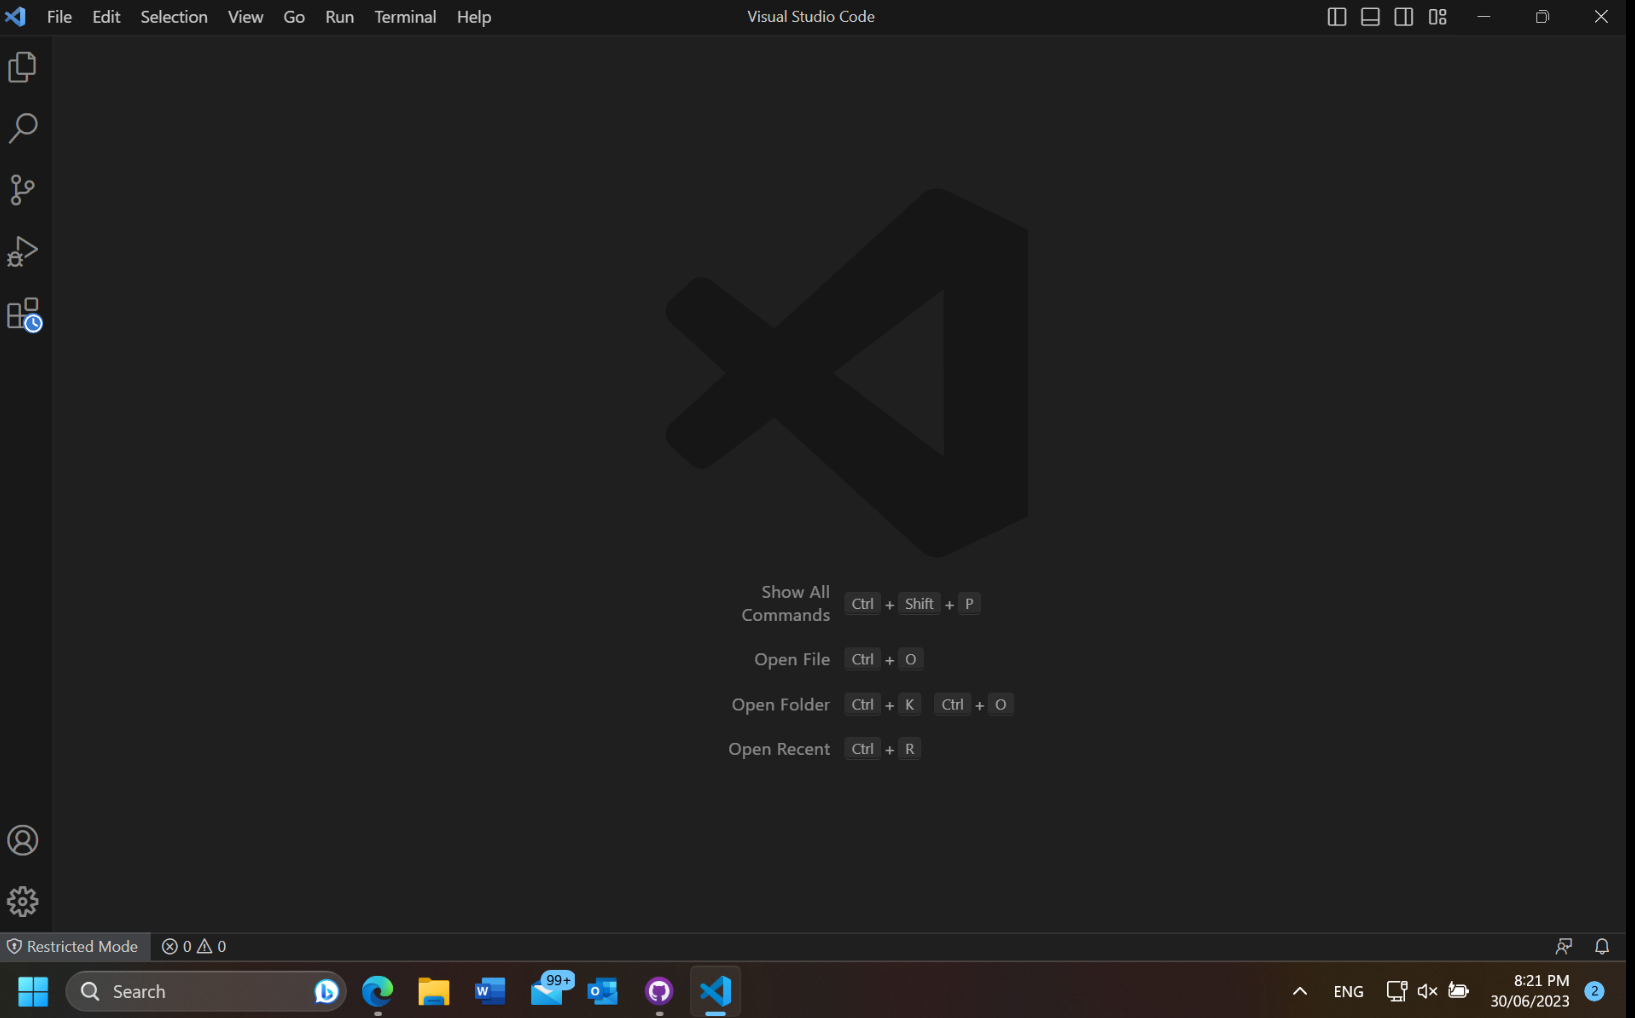
Now, do the shortcut Ctrl + K, Ctrl + O to open a folder. We want to open the repository folder, i.e. the folder with the same name as the name of the repo. For example, if you named the repository "big amongus", you want to open the folder called "big amongus". This should have the same path as the thing we opened when we pressed show in explorer.
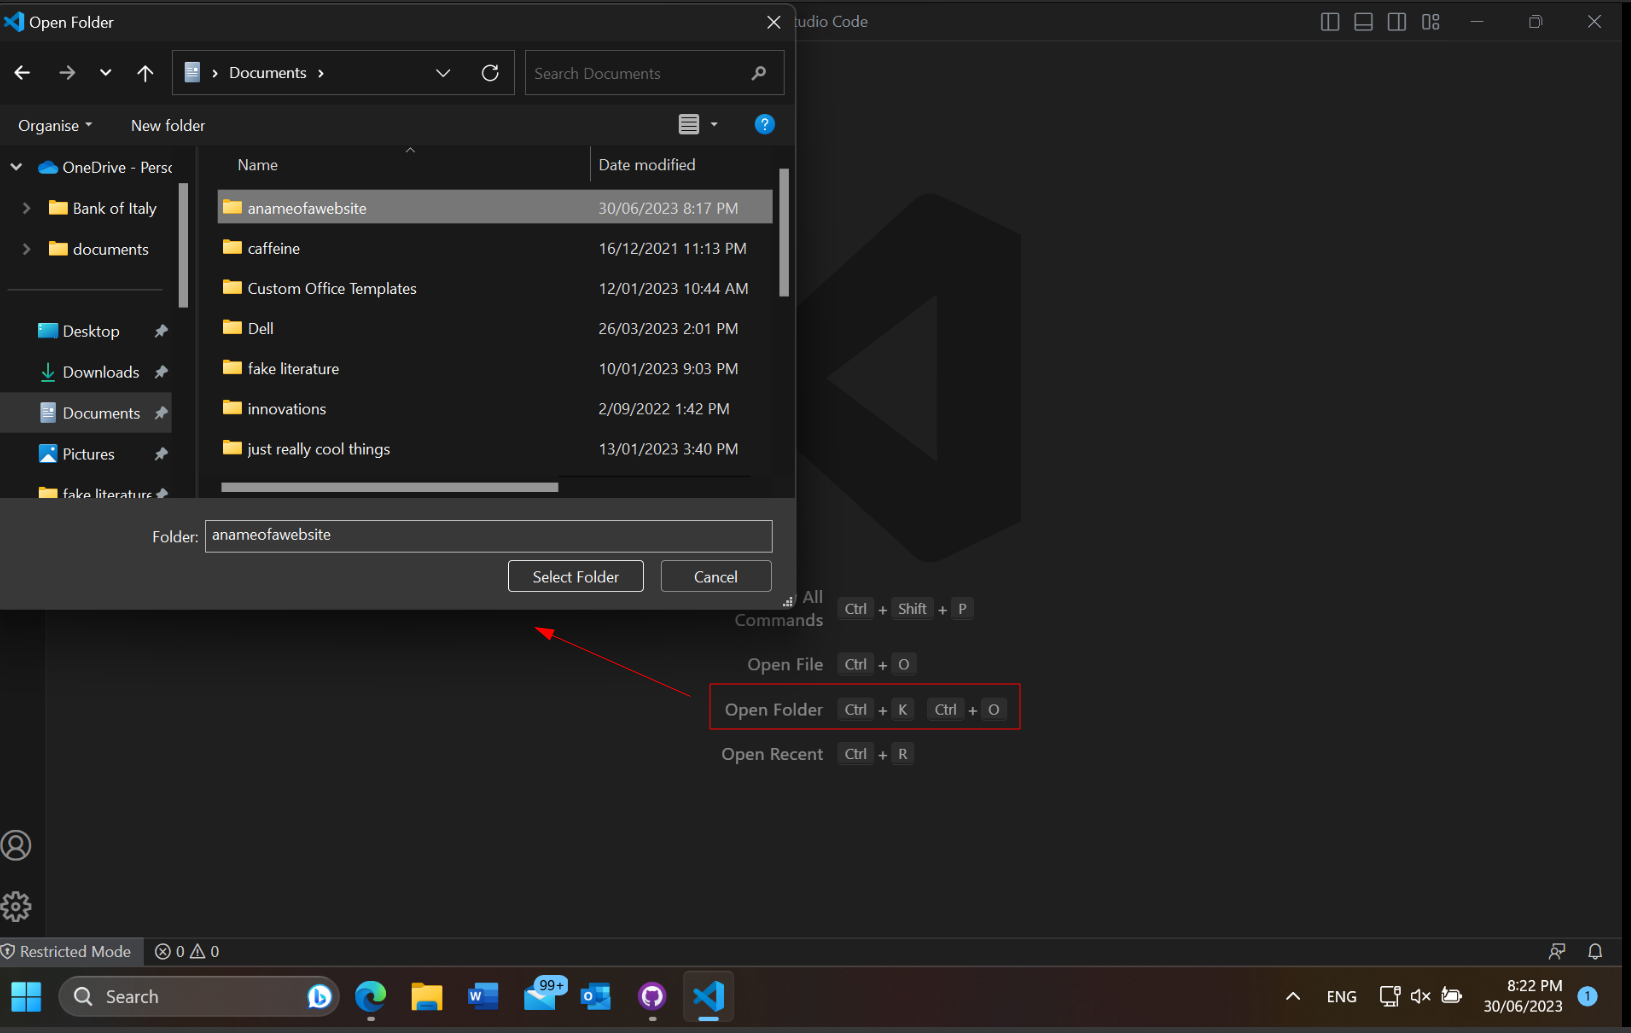
You may get a popup like this. Don't worry, check the checkmark to trust authors, and press "Yes, I trust the authors".
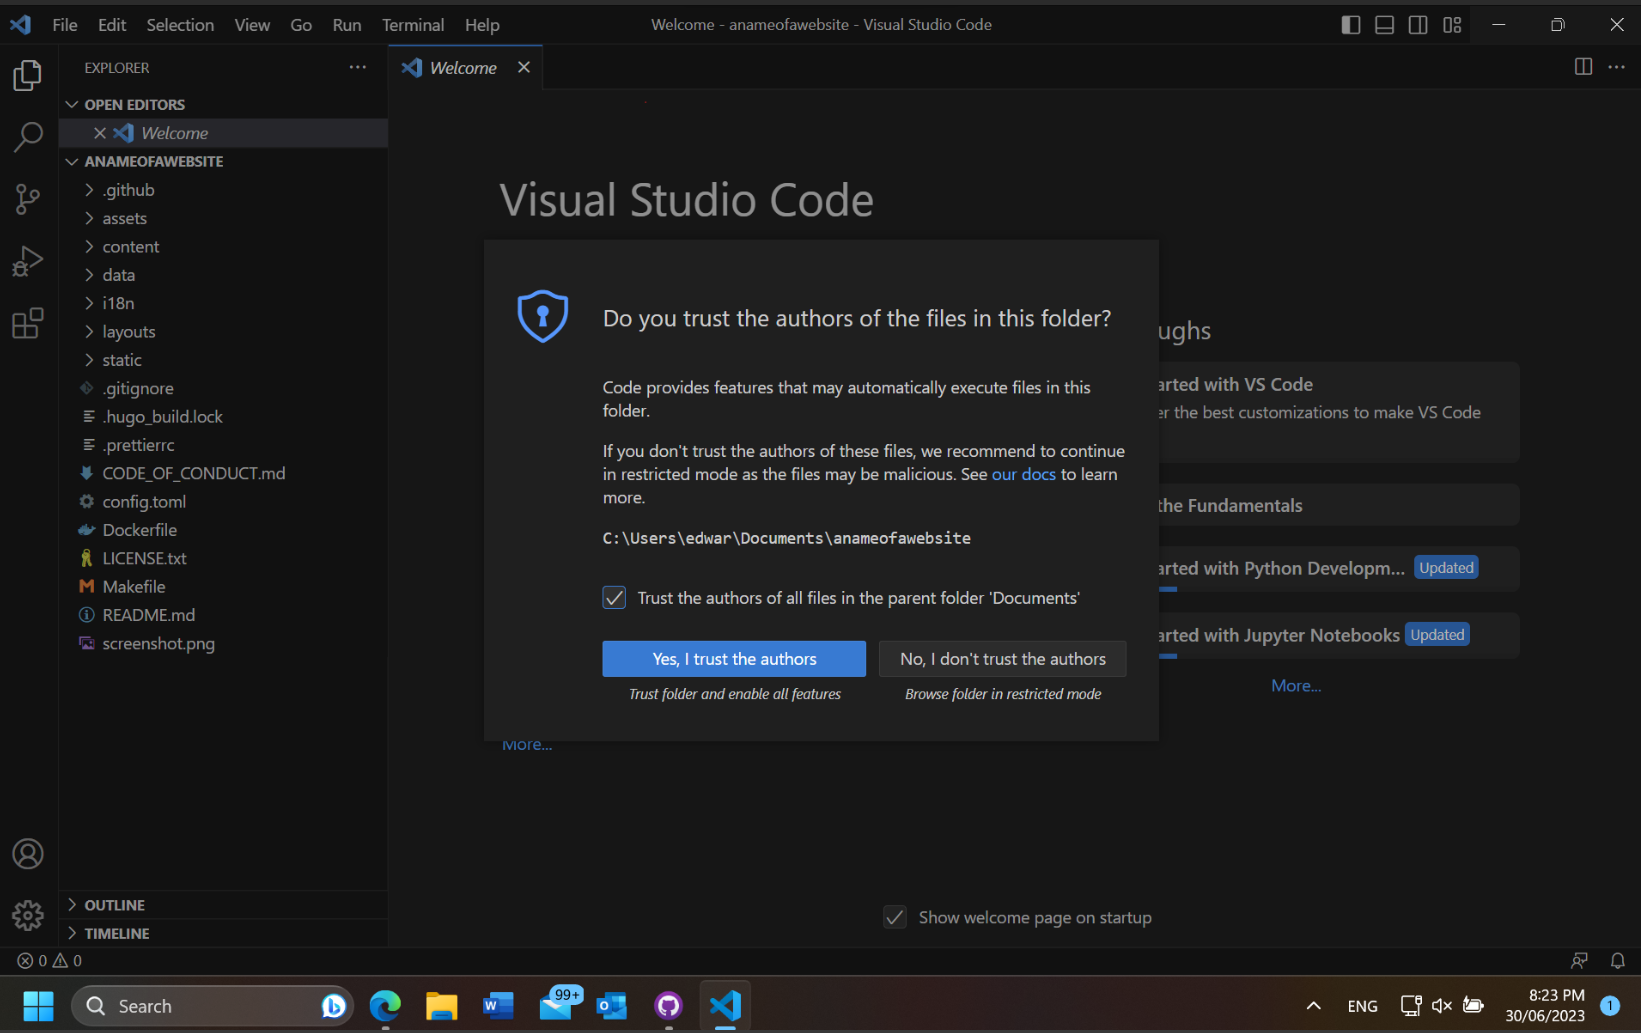
Right, so now this is what visual studio code should look like.
We are going to change the config.toml file like so.
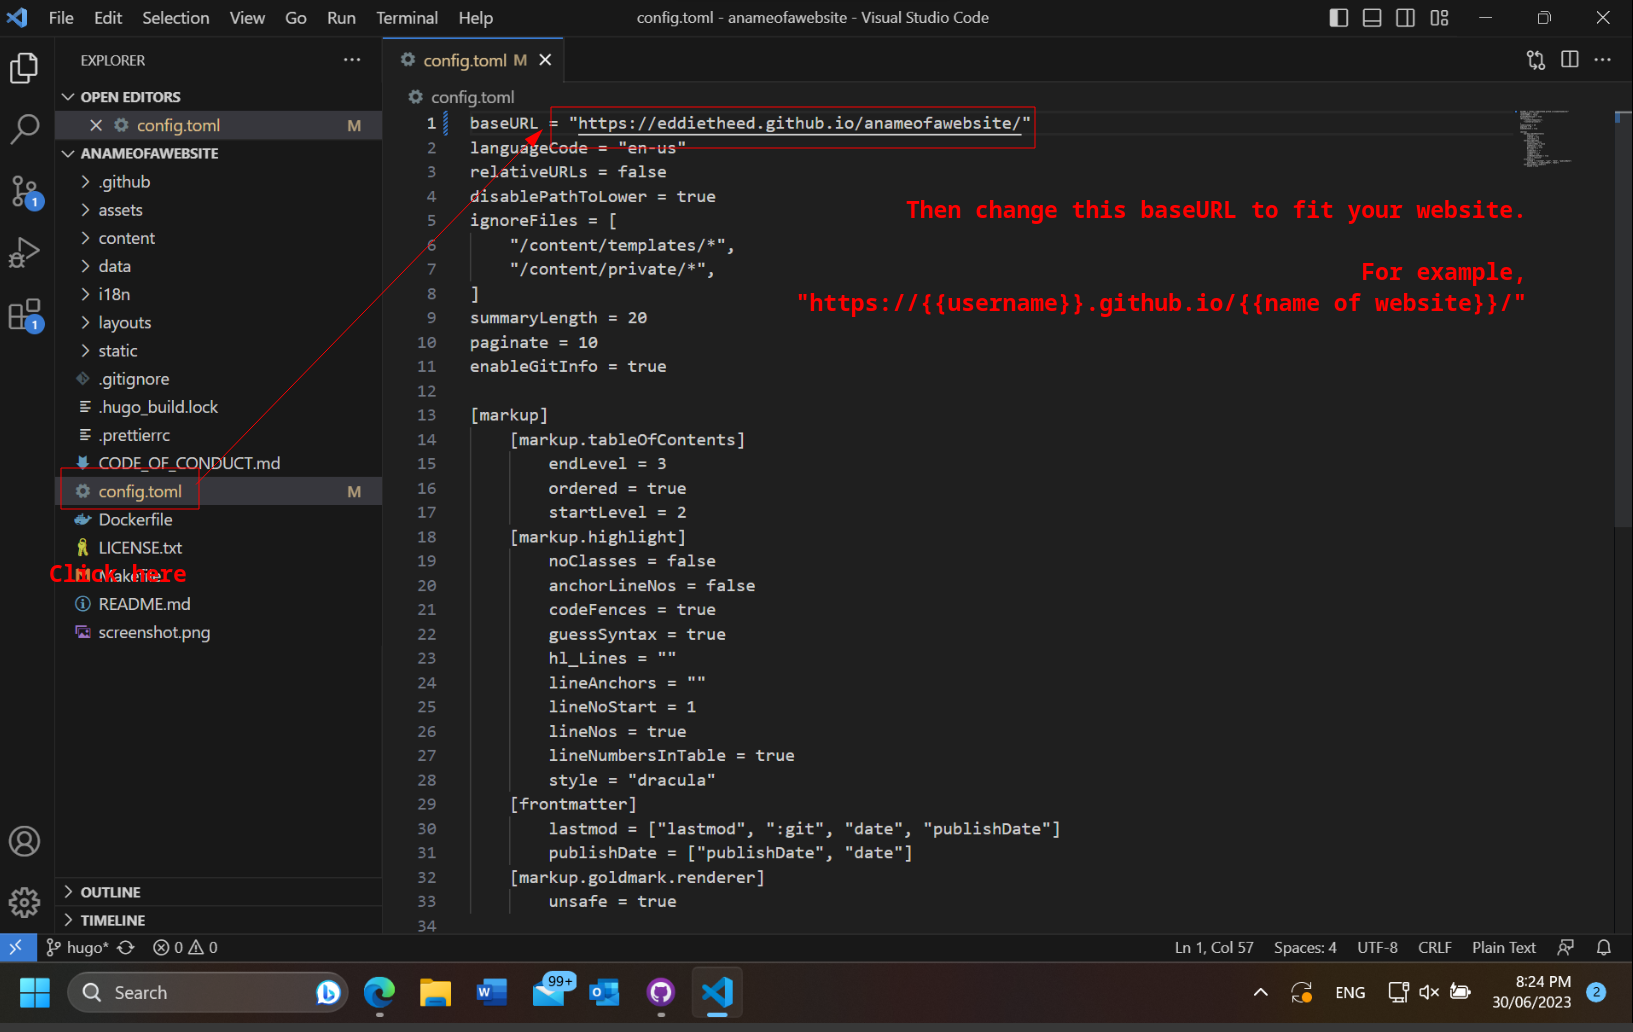
Alert Once you are done, remember to
save! This can be done by pressing
Ctrl + S.
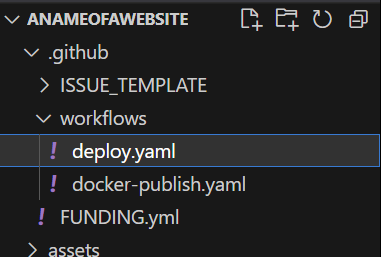
Now, this might be a little tricky. We want to change the "deploy.yaml" file, which is a Github custom workflow. You don't need to know what it means, but to change it we want to go to the top of the editor, and open the ".github" folder. If you cannot see this folder, you have hidden files on and you need to find out how to disable it (i dunno how to explain how to do this, just google it im sure that'll work).
Here's what it should look like:
Now, let's edit it. What we are editing is at the very bottom!
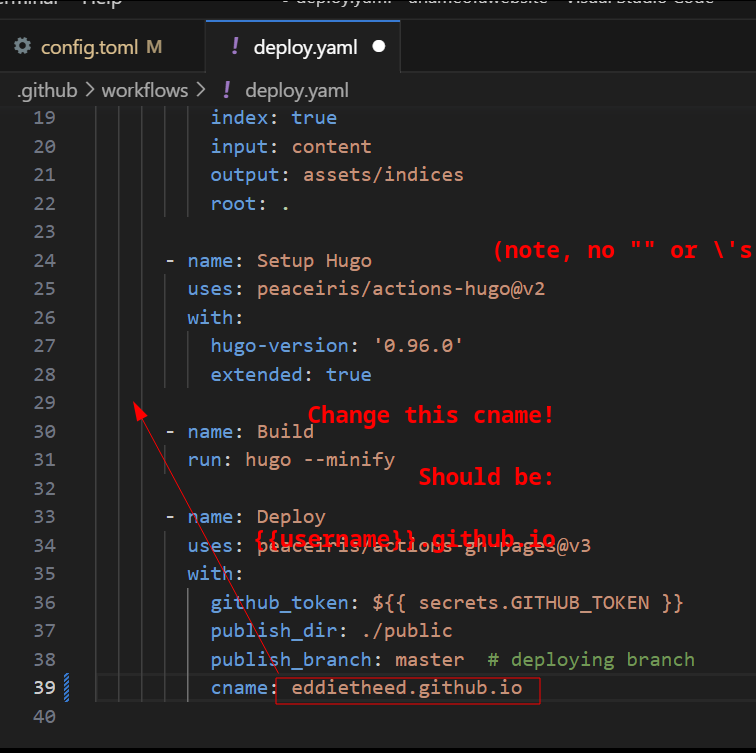
Note how there is a white dot at the top. This means we haven't saved!
If you have white dots above either the config.toml or deploy.yaml, click on their tabs and press Ctrl + S!
Now lets go back to Github Desktop.
You should notice some changes!
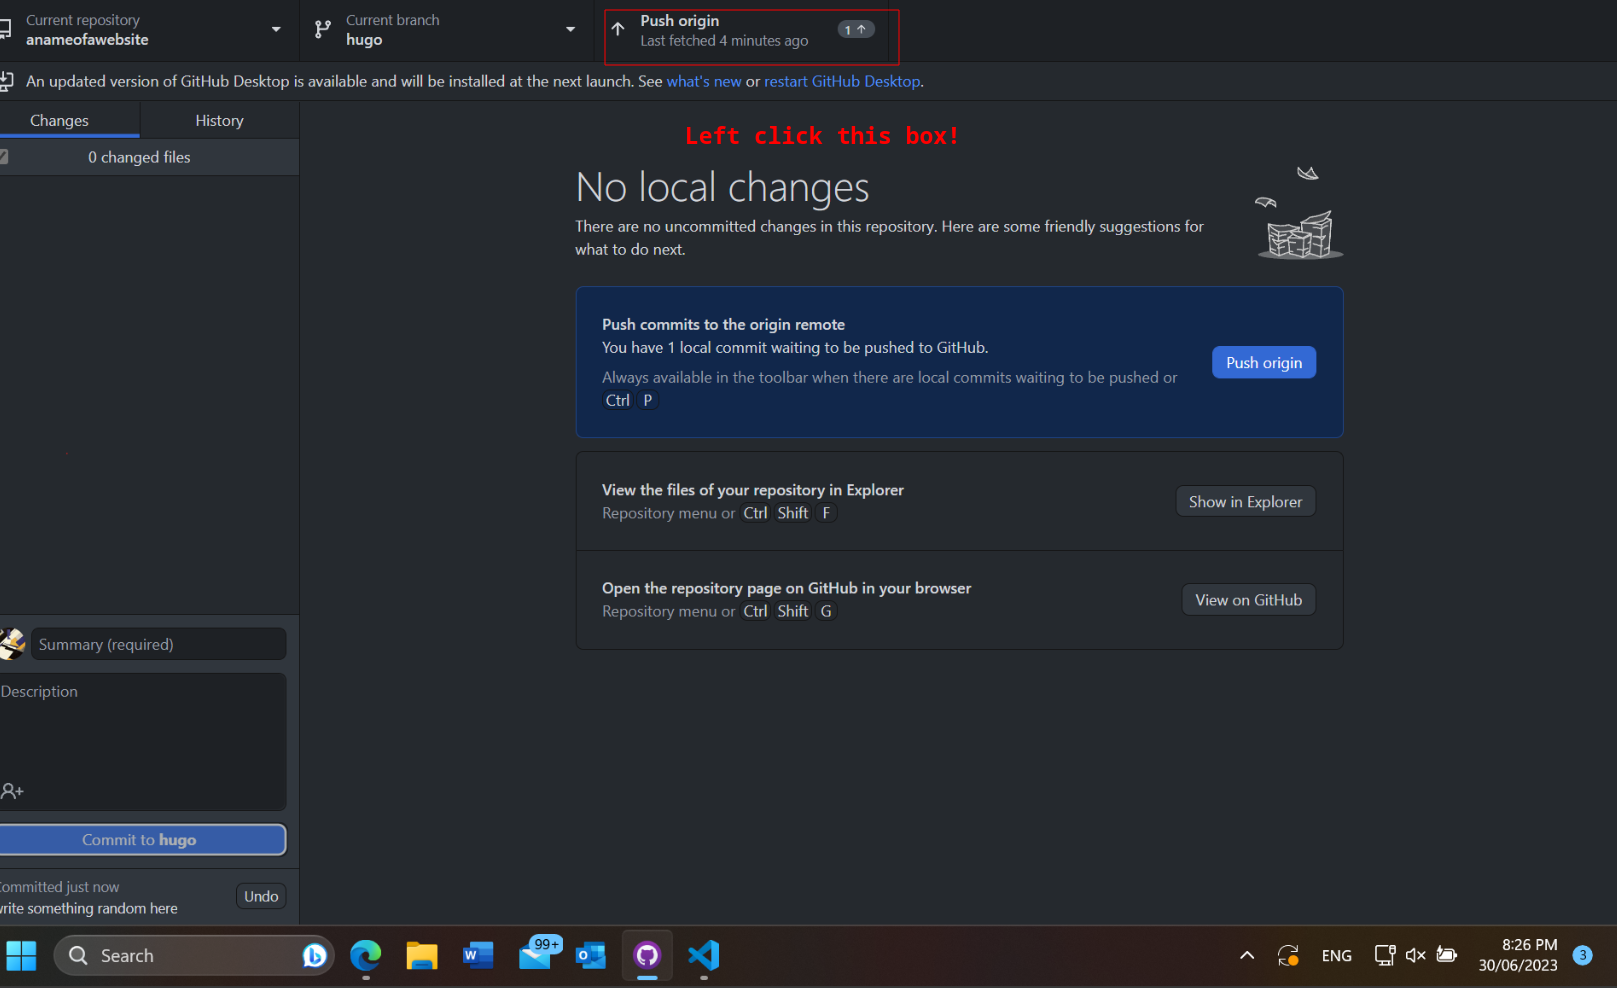
We are now going to commit our changes.

If you have successfully made a commit, The top right box should change from saying "Fetch origin" to "Push origin". Left click that box.
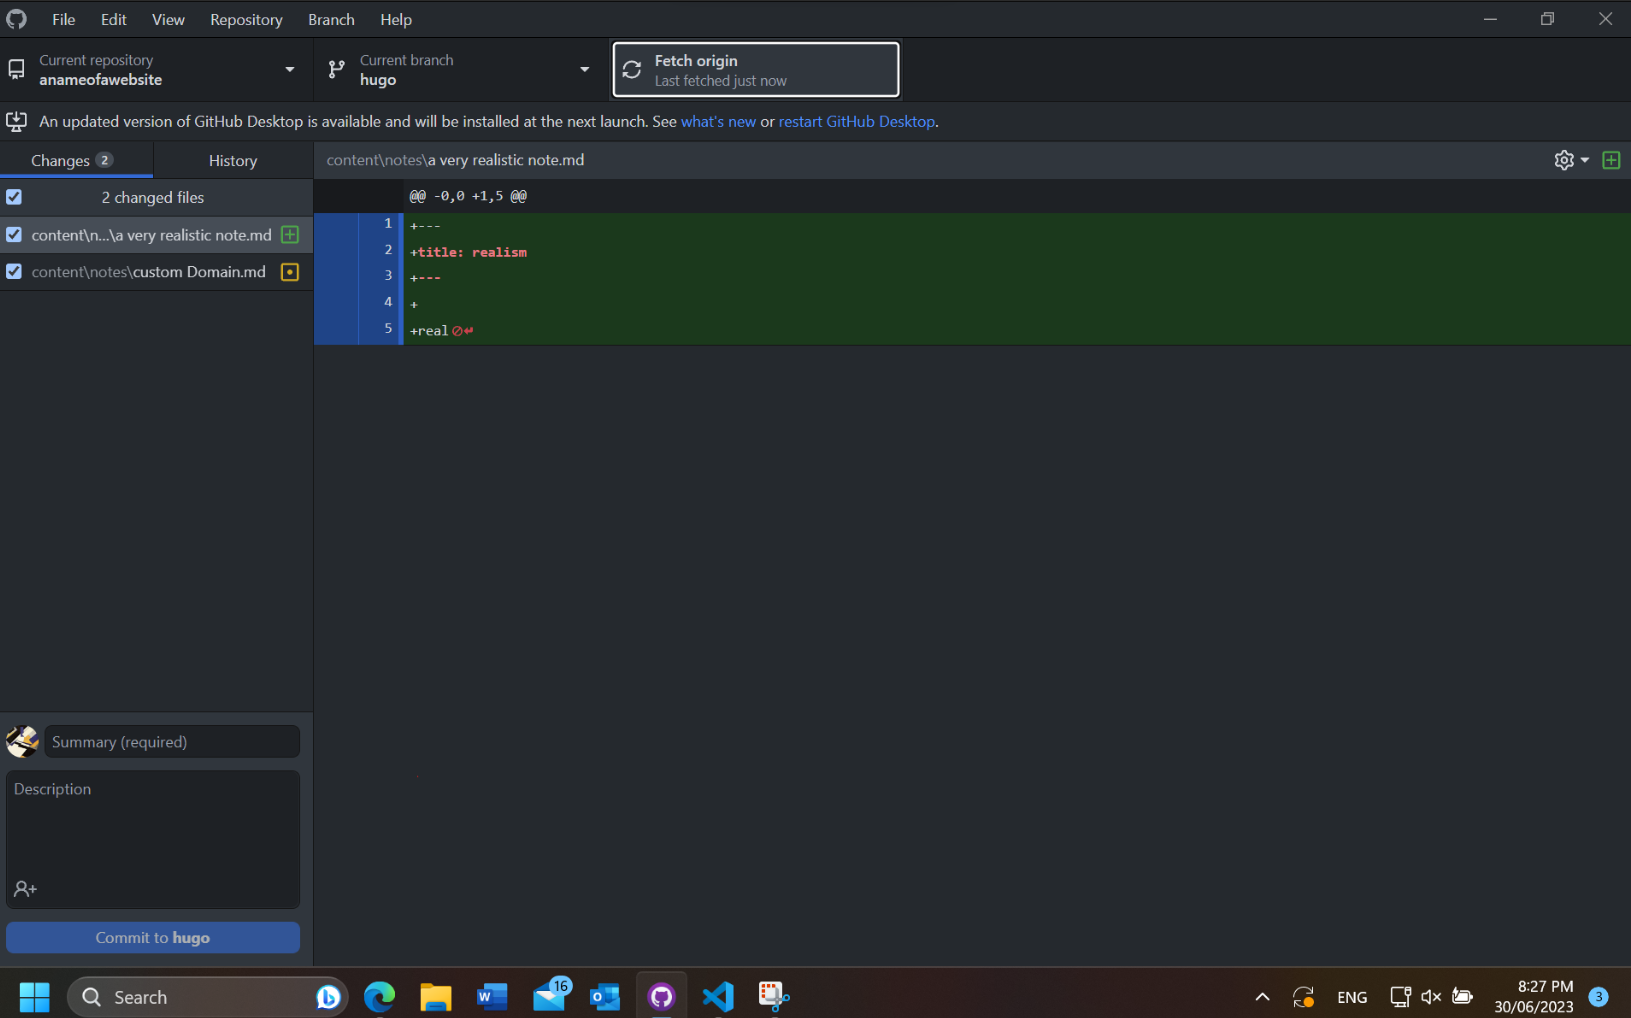
Congratulations! Your website should now be fully functional! Now, let's change some notes locally and see how we update the website.
I don't have a visual on what I changed, but the "changed files" section should tell you what I roughly did. I added things to the "custom Domain.md" file and made a new file called "a very realistic note.md". Note that we want to make "page" files in .md, since this is the file extension that was intended to be used!!! DO NOT USE HTML! ITS WEIRD
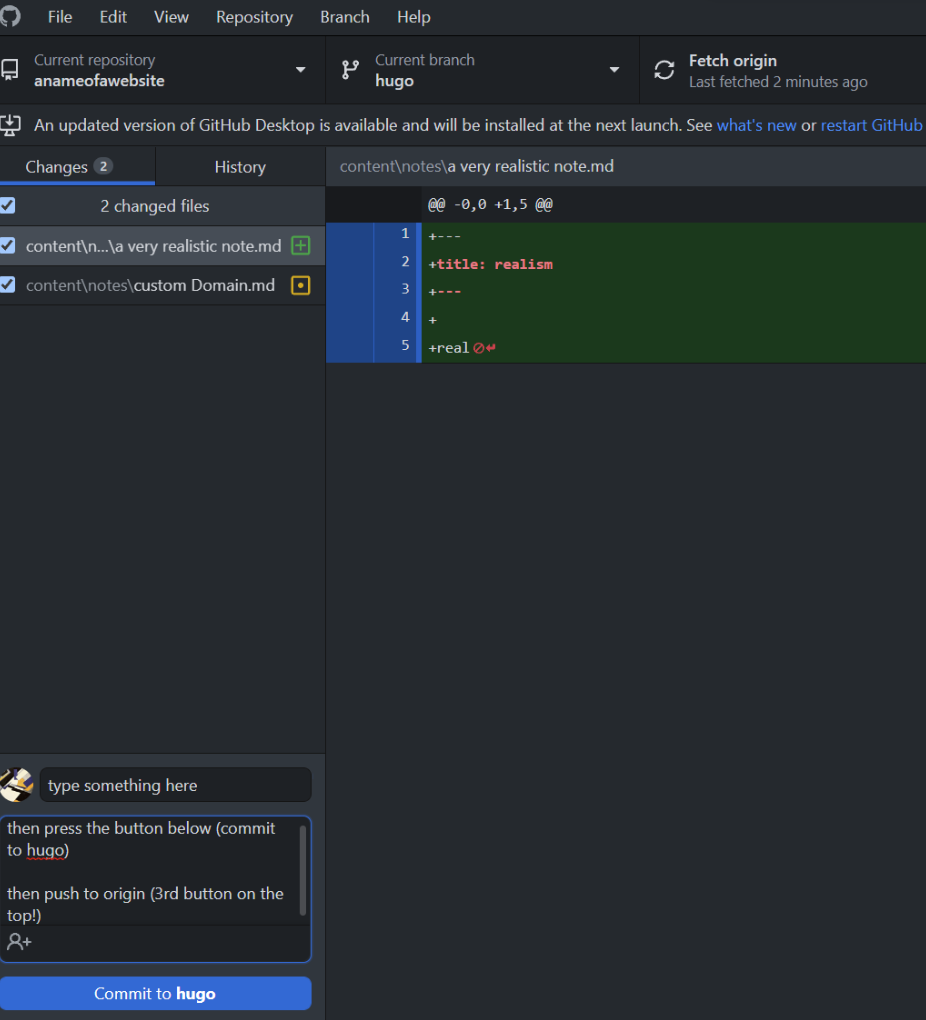
Anyways, after making those changes let's go back to Github Desktop. Once again, it should look different.
Now, fill out the "Summary", write a description if you feel like it. Then click the "Commit to hugo" button and press "Push origin"!
Congratulations! Your website is now updated with new notes!